Easy DIY abstract artwork

Have you ever looked at a piece of art and thought ‘I wish I could do that’ or maybe even ‘I BET I could do that’?
Or maybe you’re researching art to fill your home with, but finding it tricky to buy online — what if you don’t like it when it arrives? Are the dimensions right? Will it go with the room styling?
What if you don’t have to be an artist or spend a lot of money to produce a timeless piece that you’ll love ten times more because YOU created it?
In recent years I’ve been discovering my taste in art.
It ramped up when I started researching pieces to furnish the house I bought with my fiancé. I primarily used Etsy to look for work from smaller, perhaps local artists and I noticed a definite theme amongst my favourites — it was all abstract.
Yet something was stopping me from ‘adding to cart’. Was it my inner creative spirit desperate to be unleashed? Or was it my practical and must-get-value-for-money-at-all-times trait that I’ve almost certainly inherited from my dad? Perhaps it was because art is very emotive, and I was struggling to form any kind of connection via a screen. Maybe it’s a bit more like a Venn diagram, and I’m in the part that overlaps all these things. Either way, something drove me to give it a go myself!
This piece was inspired by various other artworks I found on Etsy and also by artist and YouTuber, Riu, who very kindly shares her processes online.
I’ve tried a few colour variations of this particular piece — black, white, blue, purple (scroll down for images); it really lends itself to an array of colours that fits your vibe. Plus, it’s easy!

The only tools you need, plus a blank canvas.
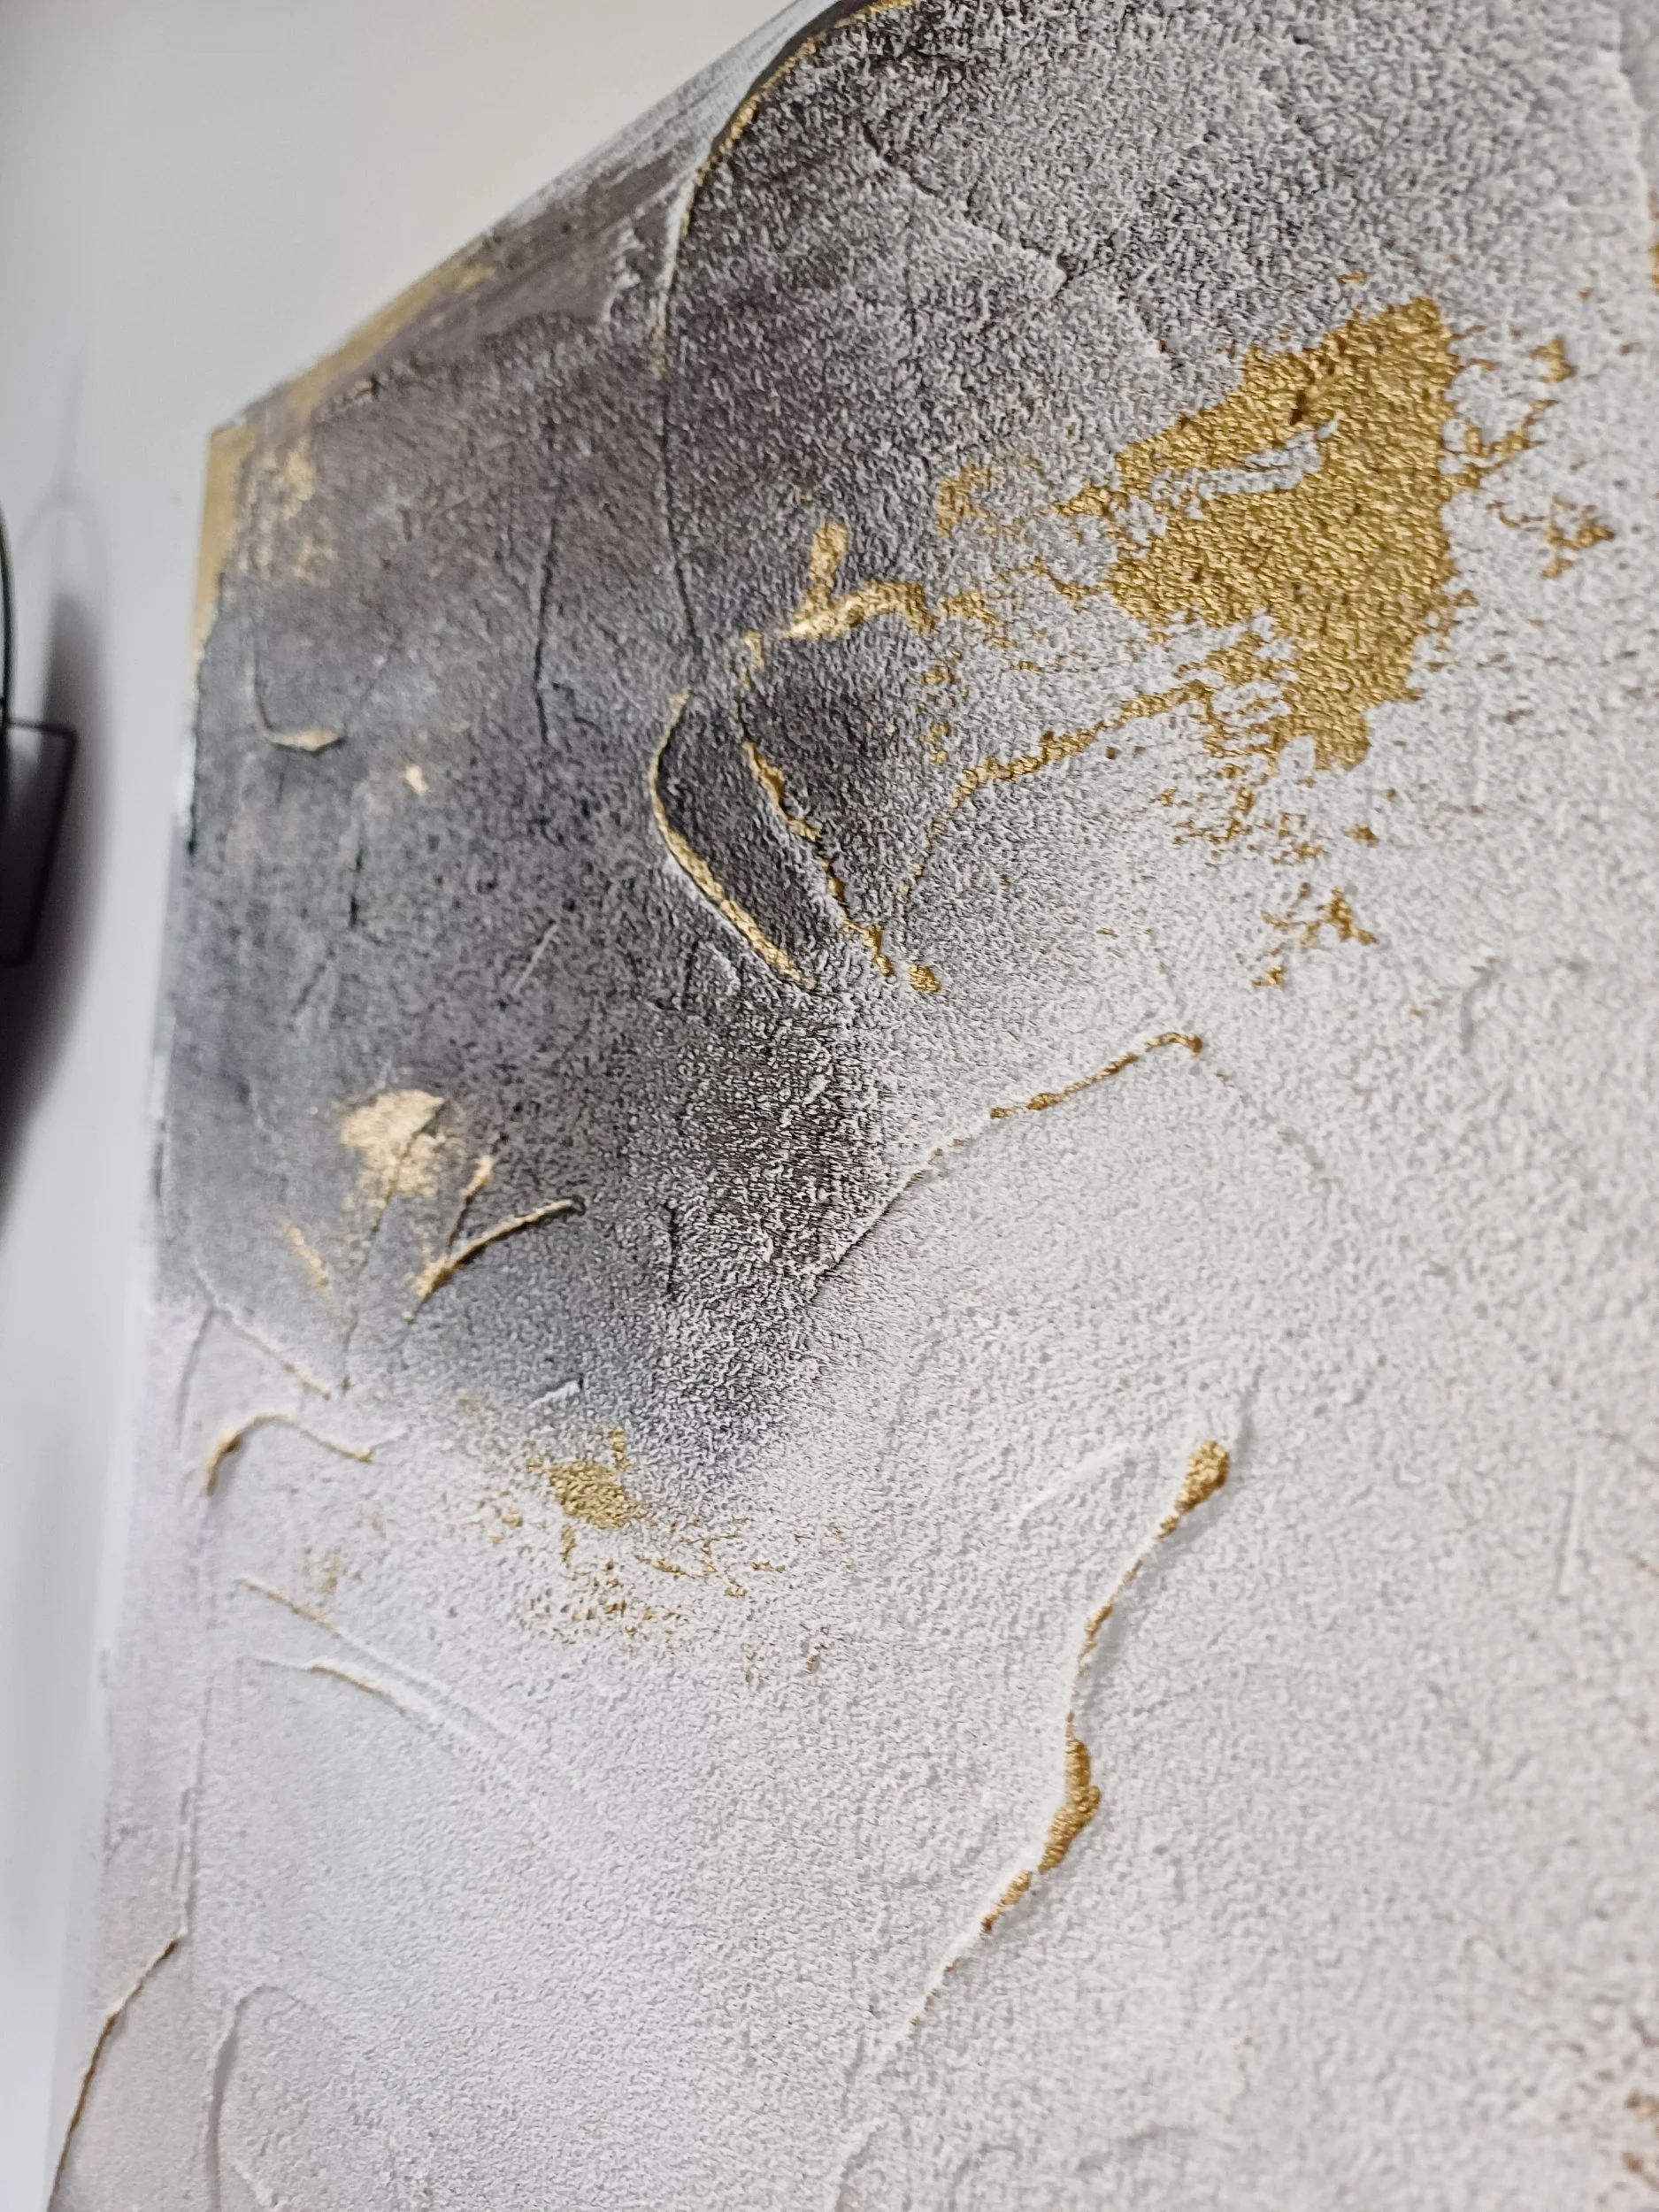
This piece is all about texture. So that’s where to start! Pour some sand and paint onto a blank canvas, and mix and move it around with a palette knife (you could also use an old spatula from the baking drawer). You’ll get a feel for how much of each medium you need as you go.
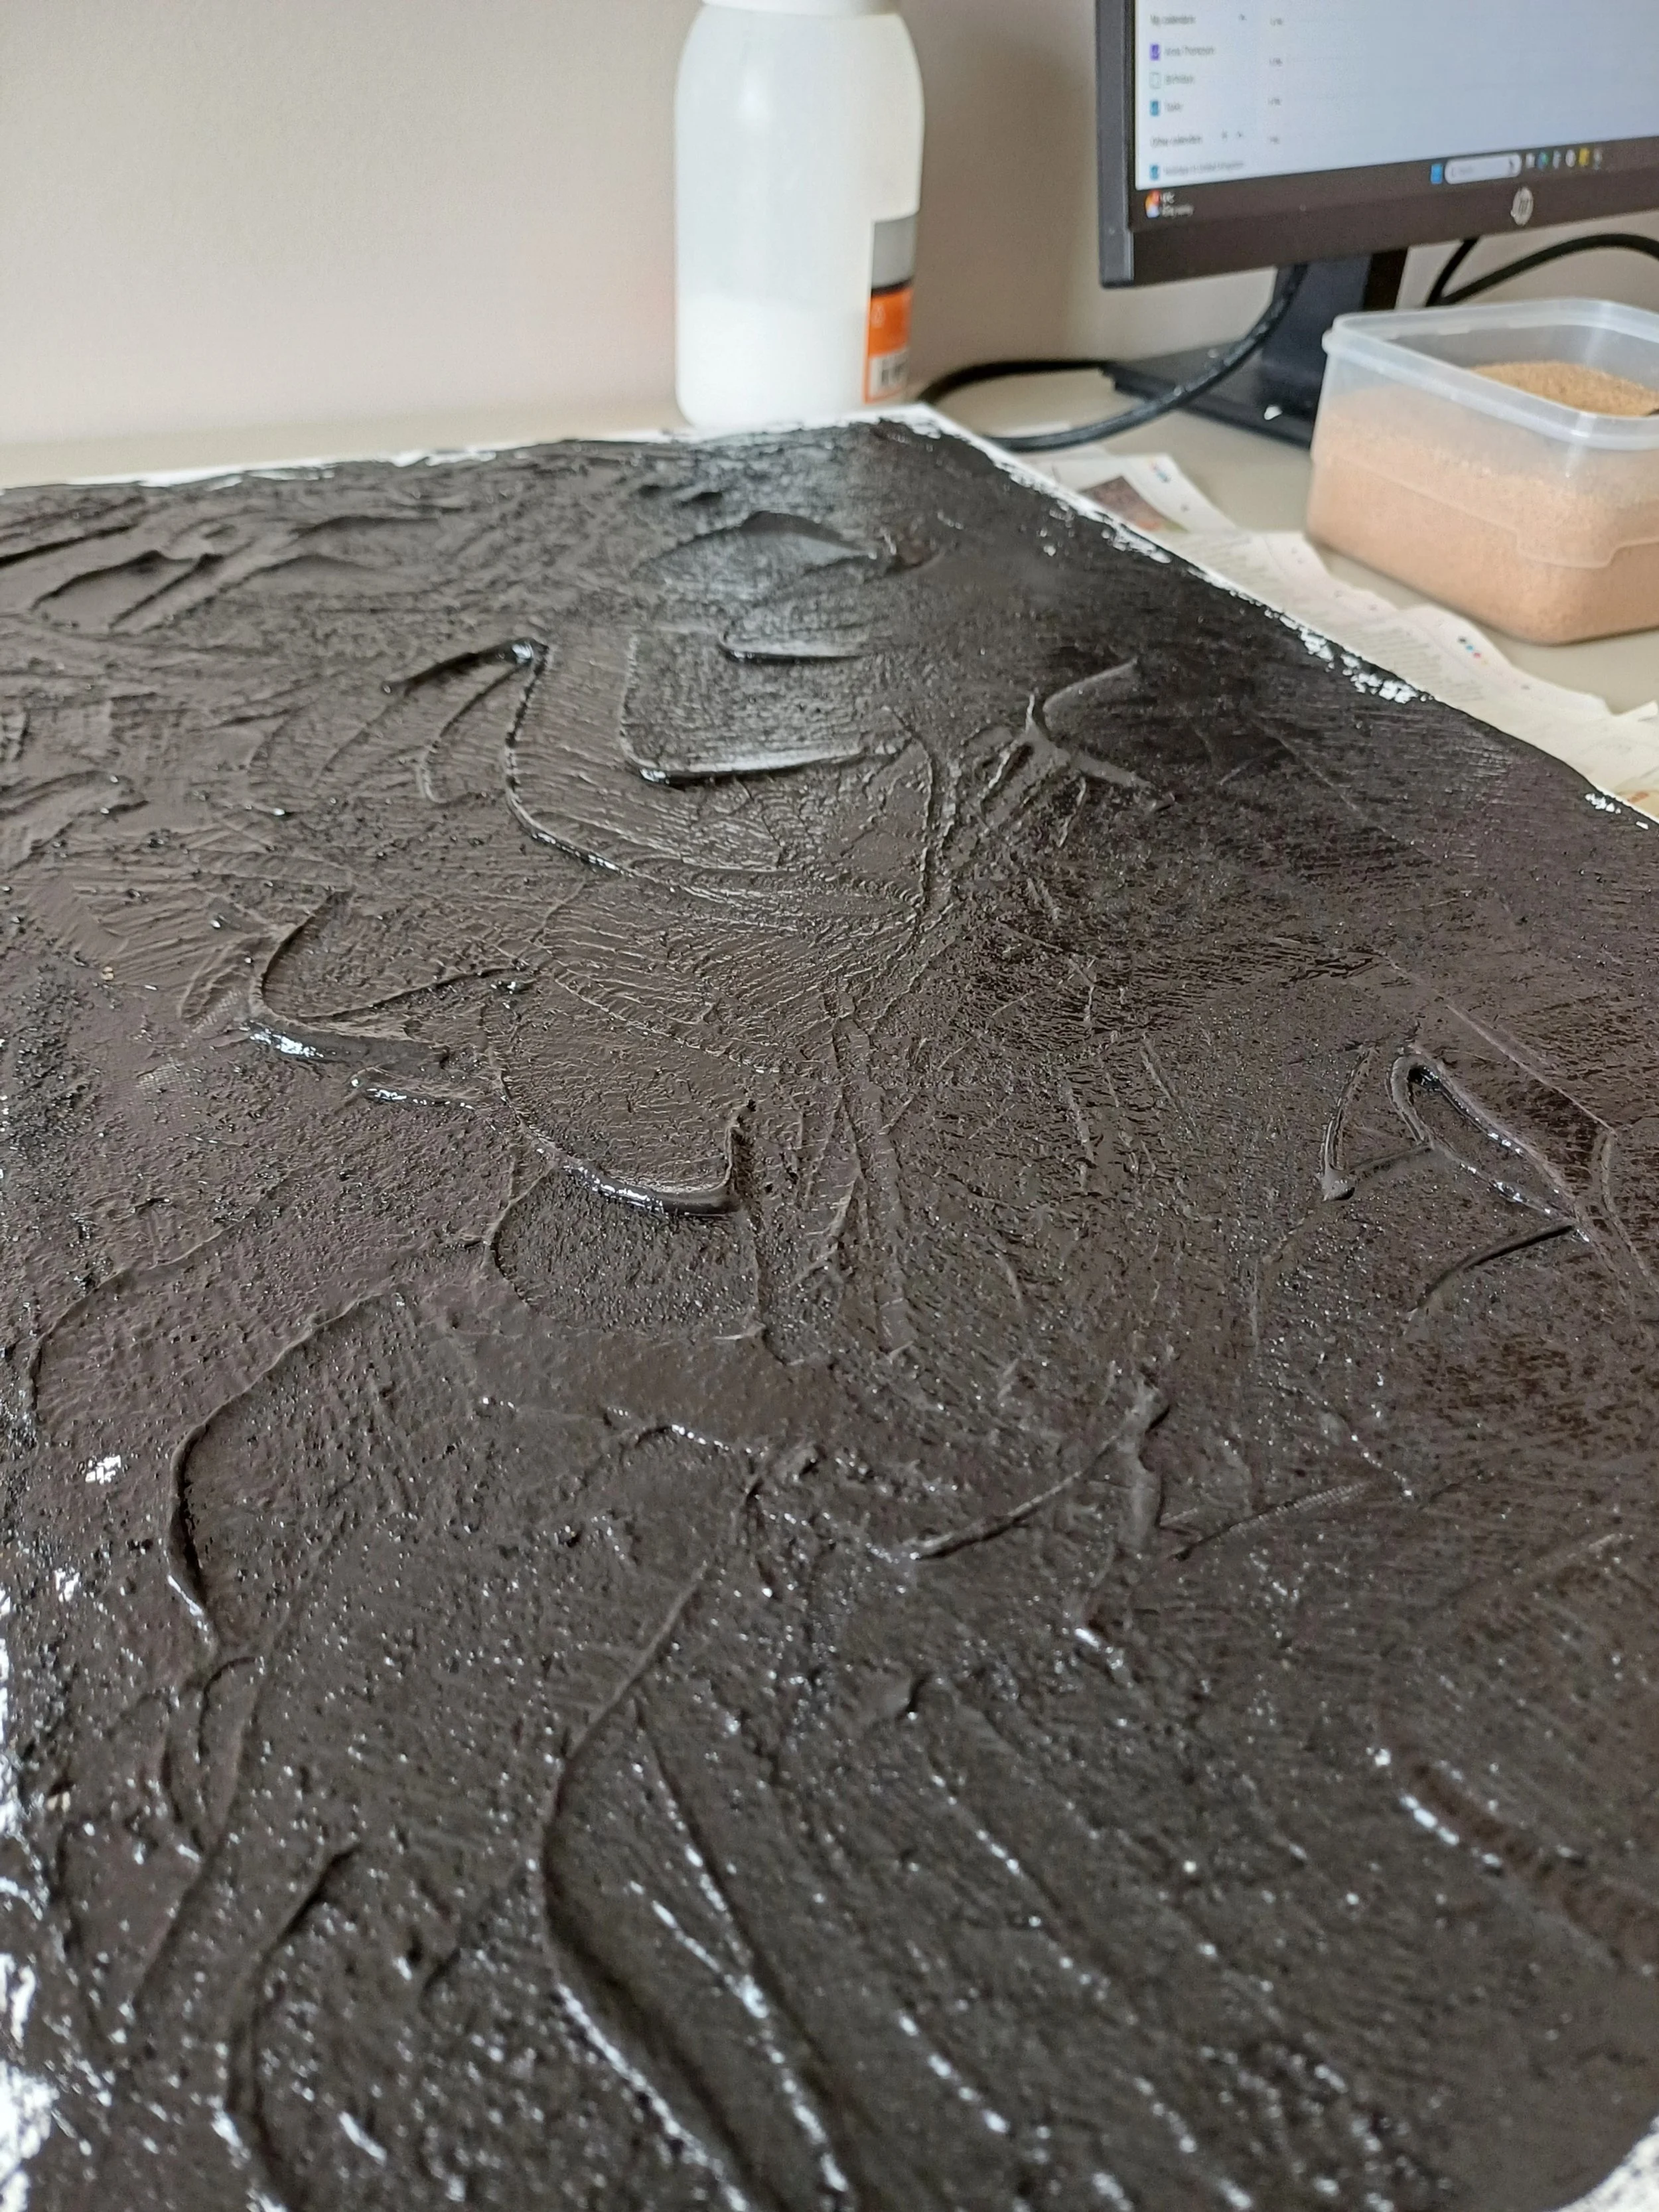
It can be a bit nerve-wracking when you’re confronted with a canvas of nothingness, but just start - that’s the beauty of abstract art, you can’t really go wrong! And if a piece isn’t coming together, you can always paint over it and start again.
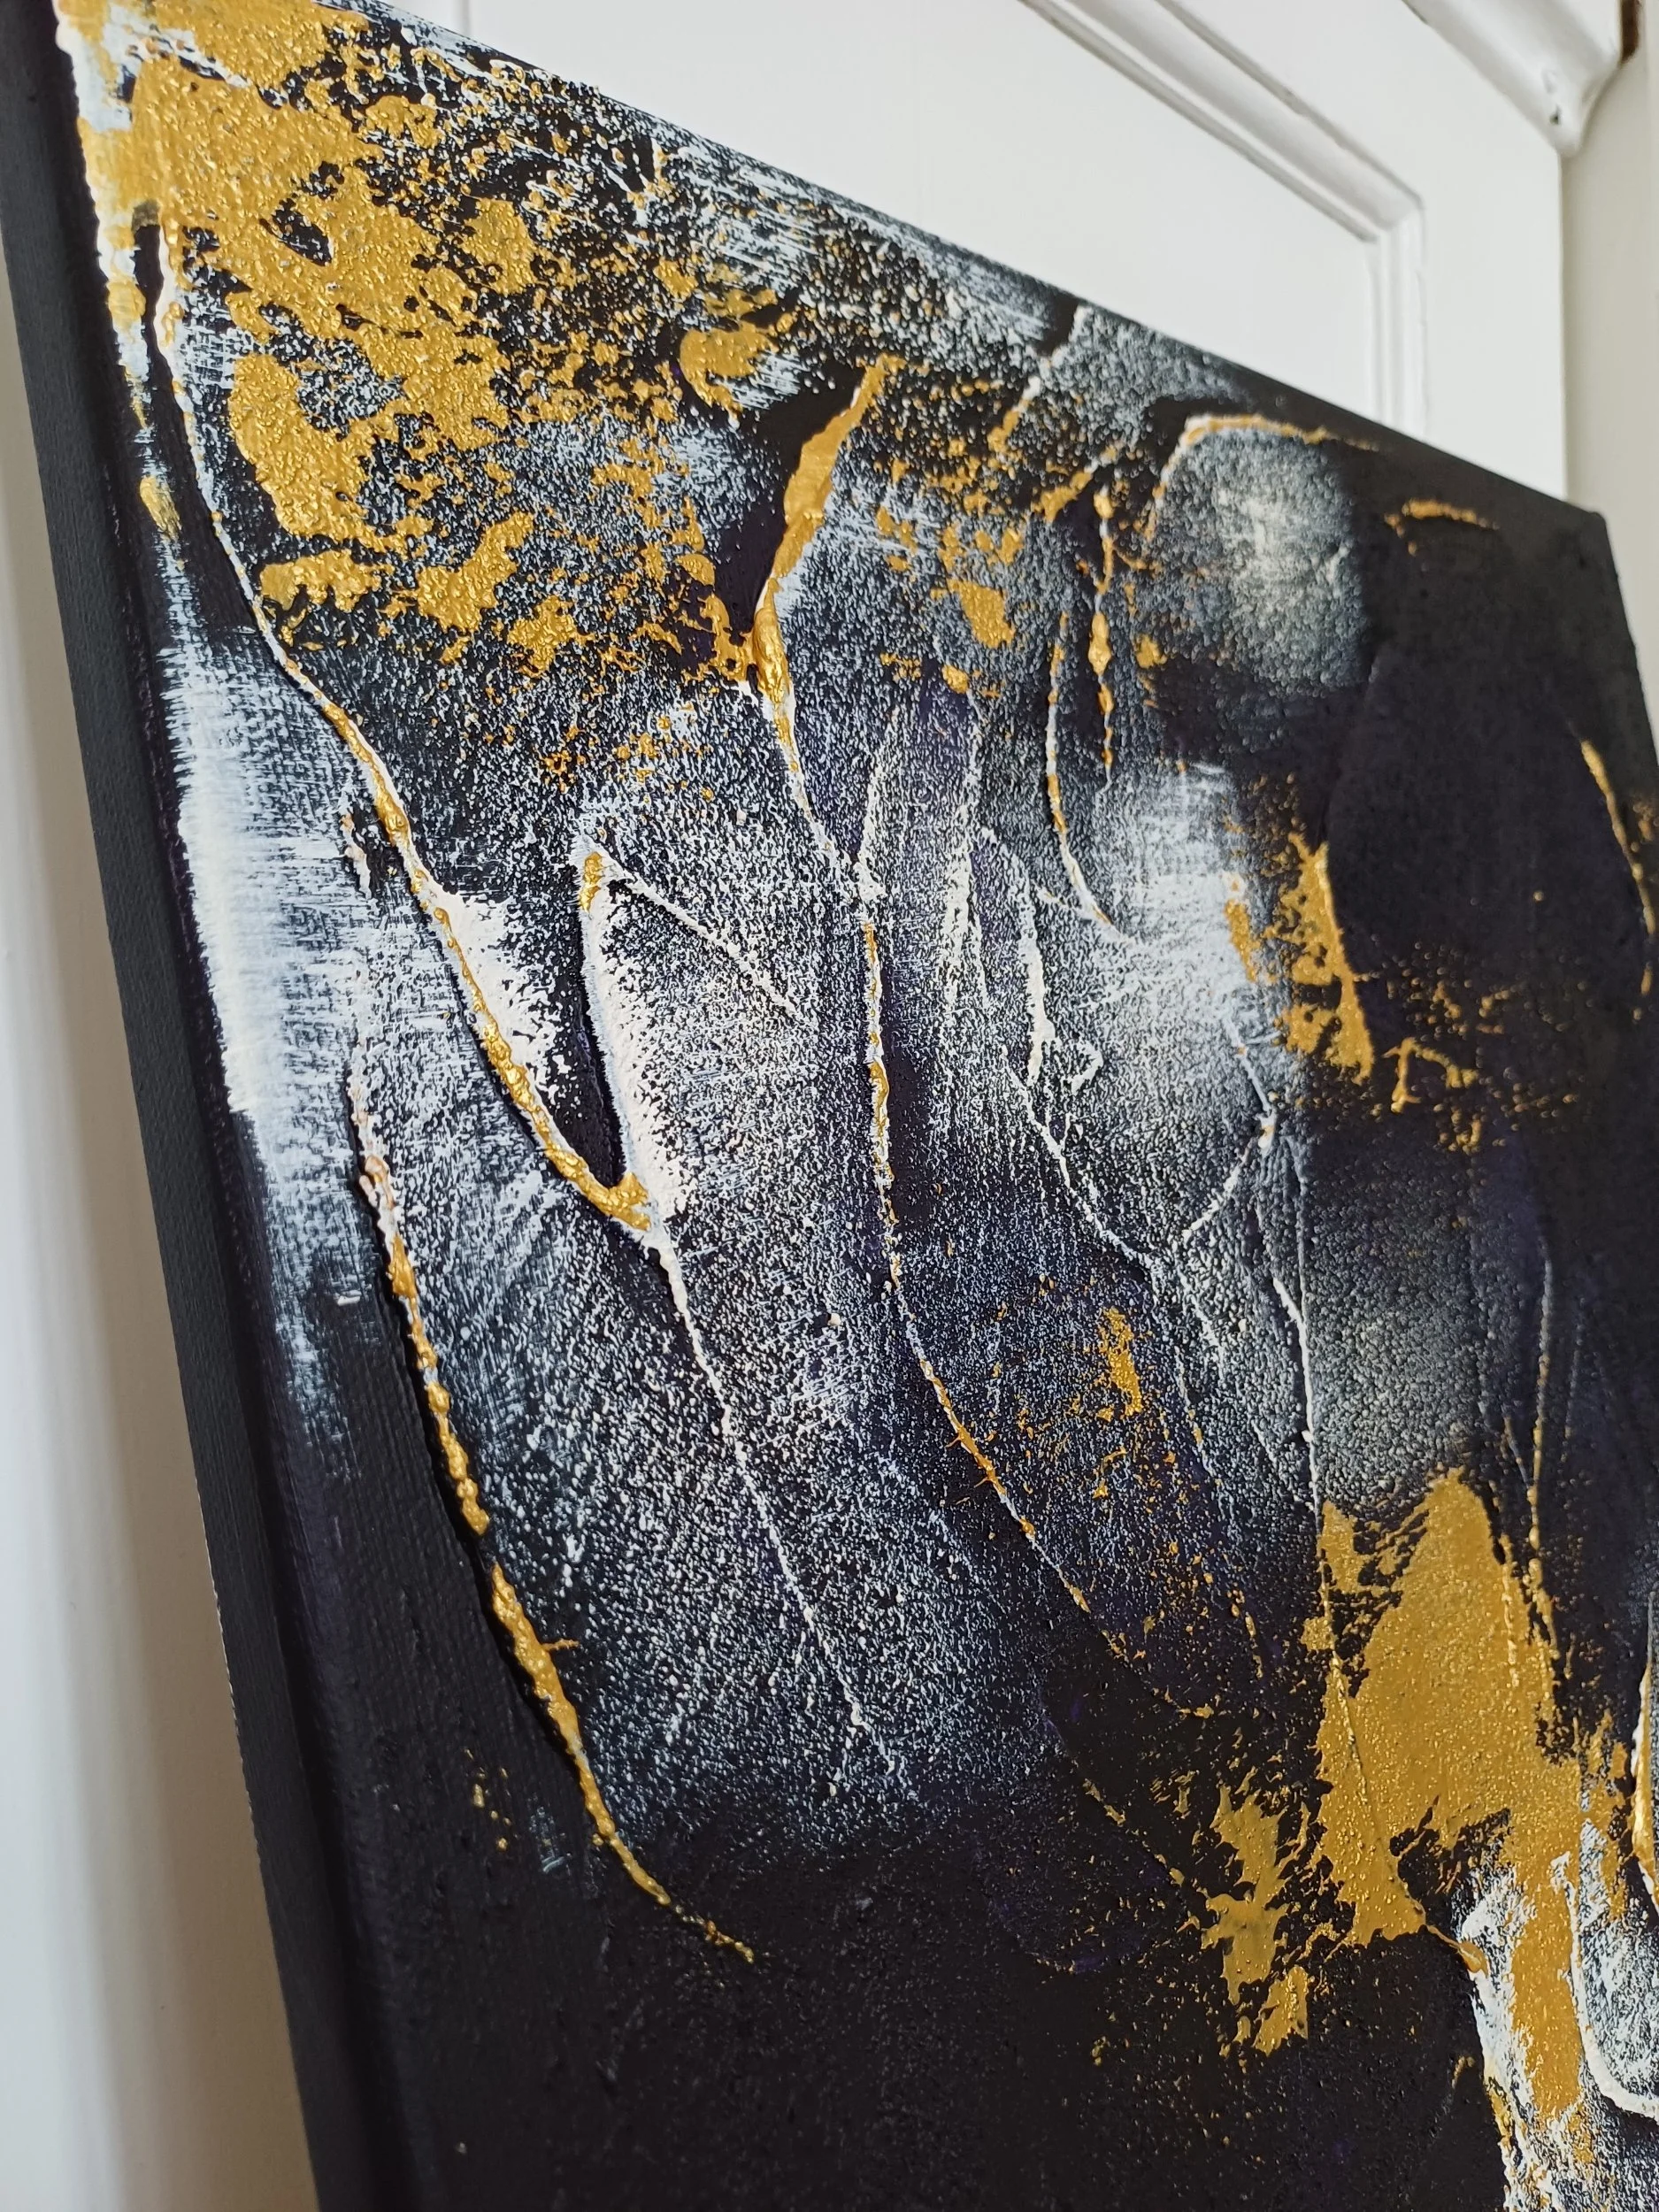
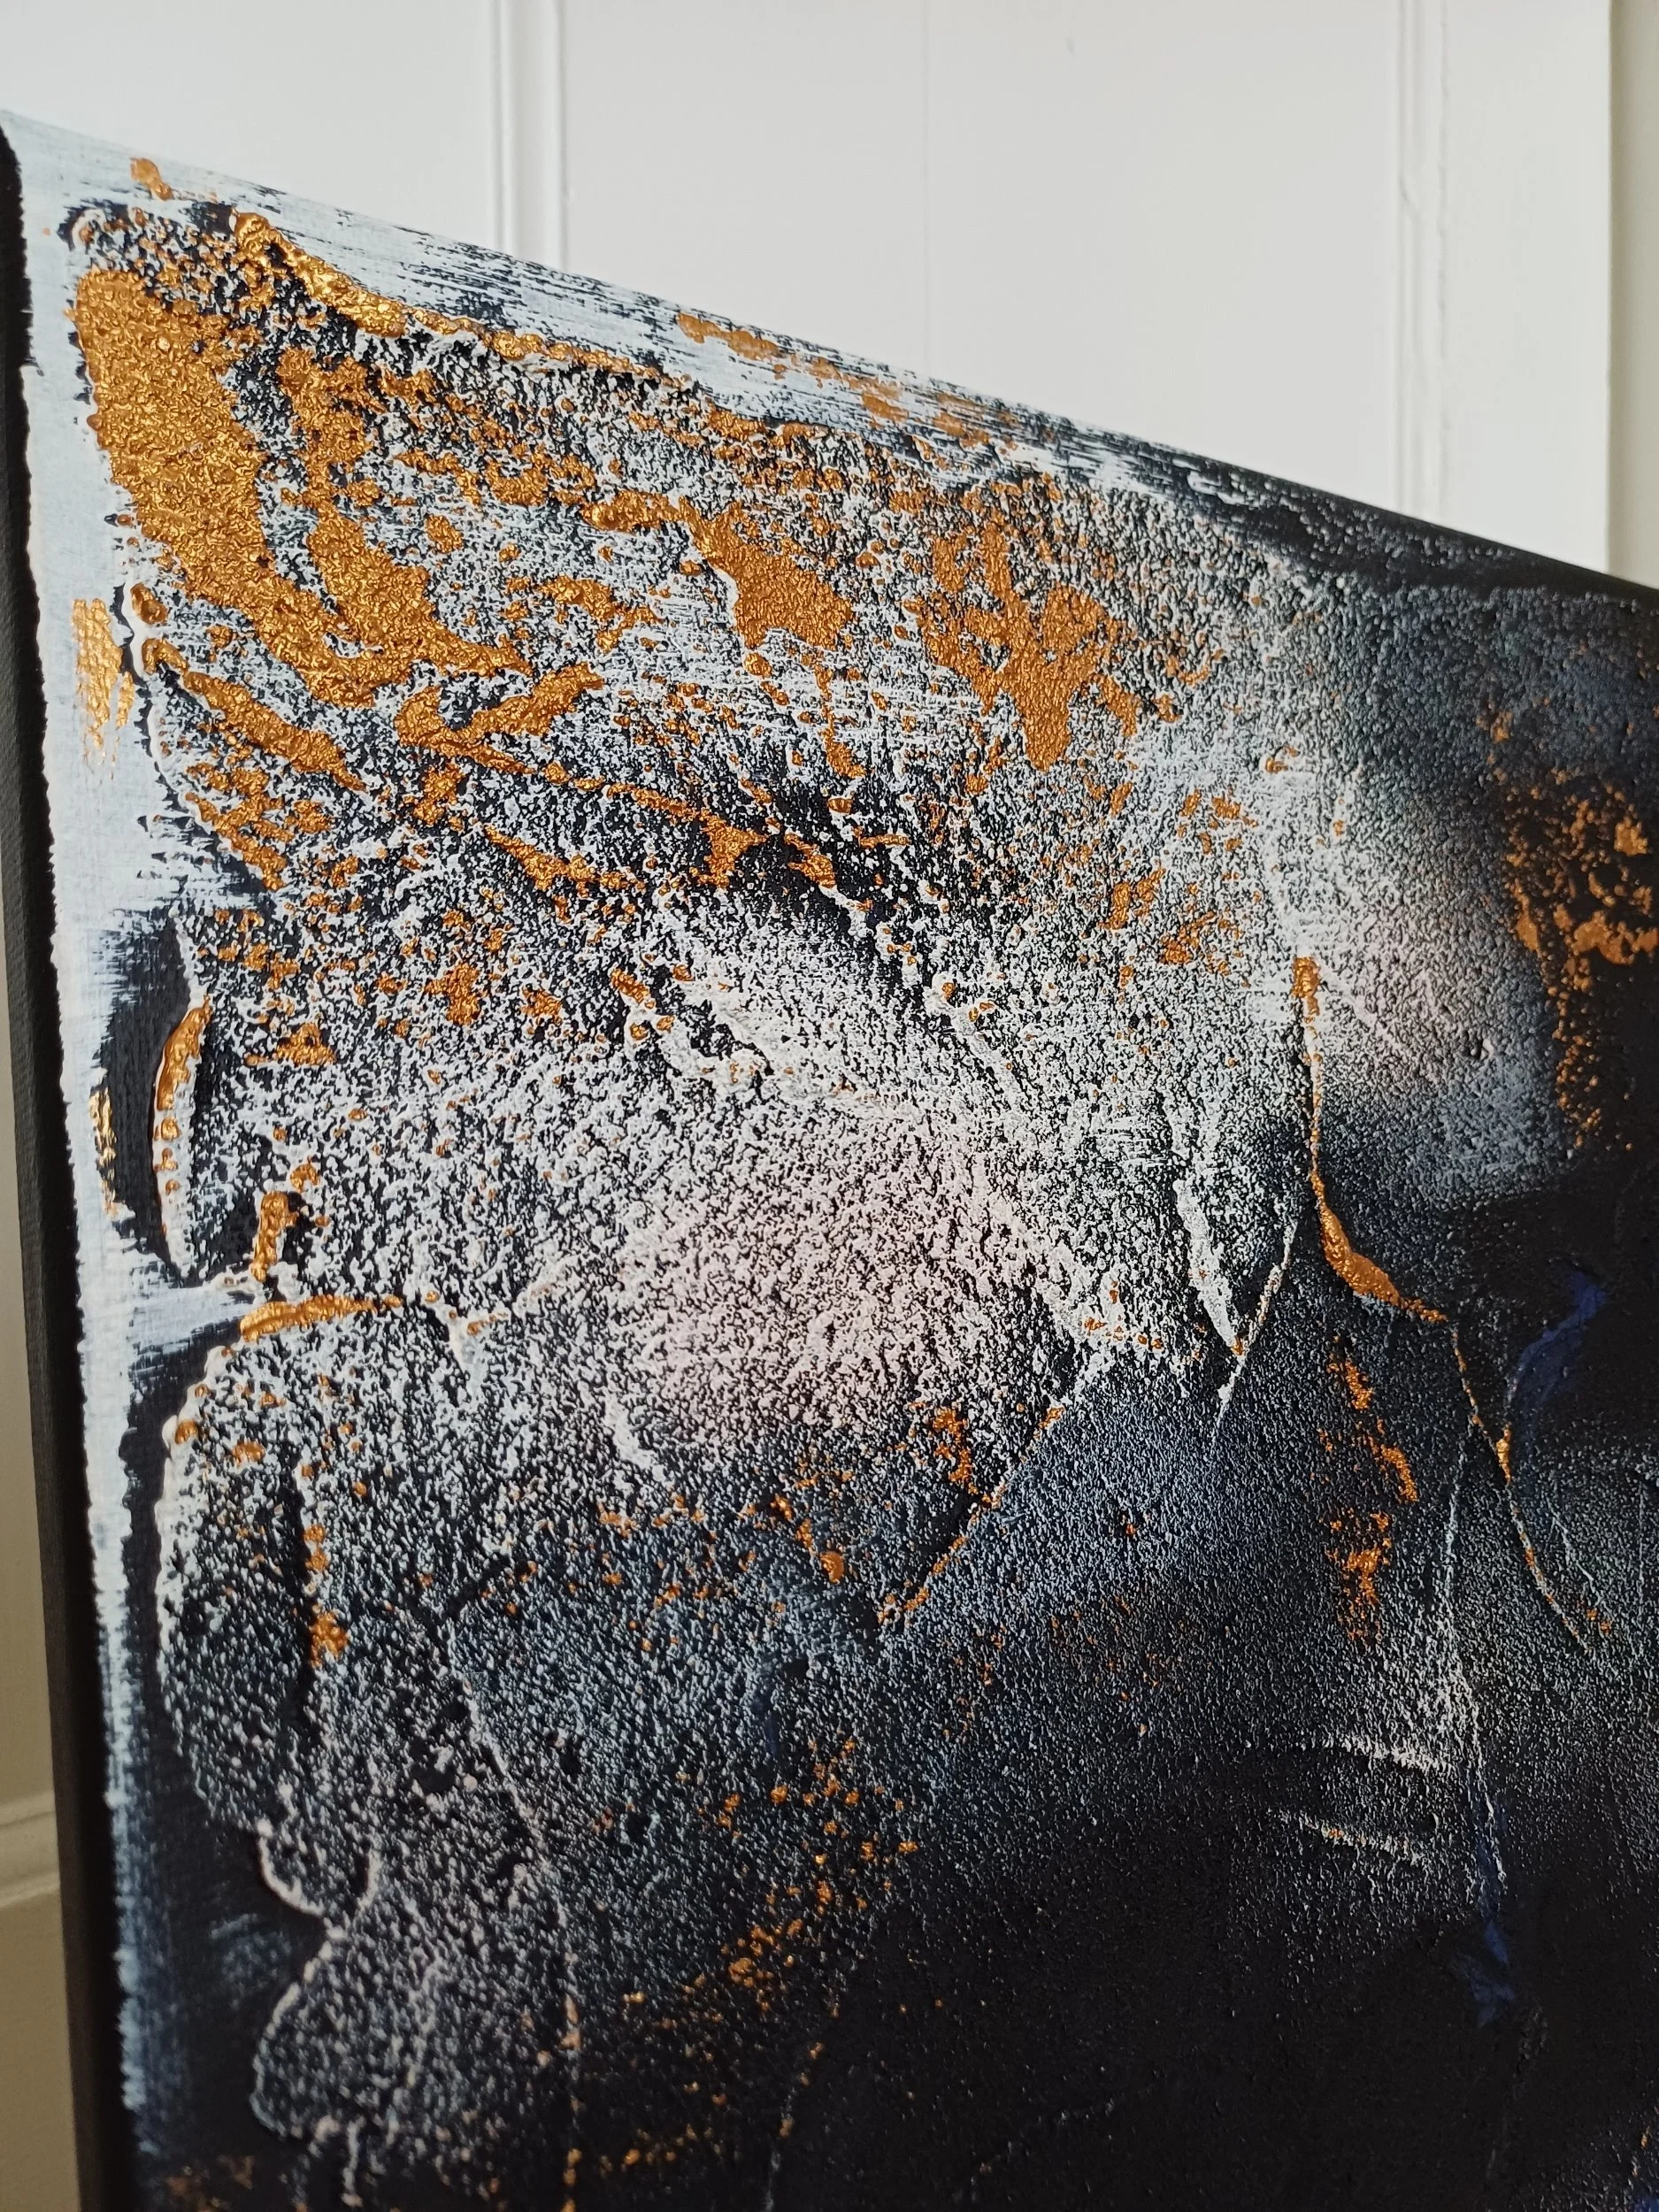
After 24 hours when the sand-paint mix is dry, use the same paint you used to create the sand texture to cover any exposed canvas. Then, with a medium-sized paint brush (I used an old decorator’s brush I found lying around, pictured above) to add some thick horizontal streaks in an opposing colour in various places around the canvas.
Less is more at this stage. Dab any excess paint off the bristles and gently drag the brush across the texture. Repeat over the same area for a bolder contrast, or leave it after one stroke for a softer effect.
Avoid some areas of the canvas to let the background colour shine through and create some negative space.


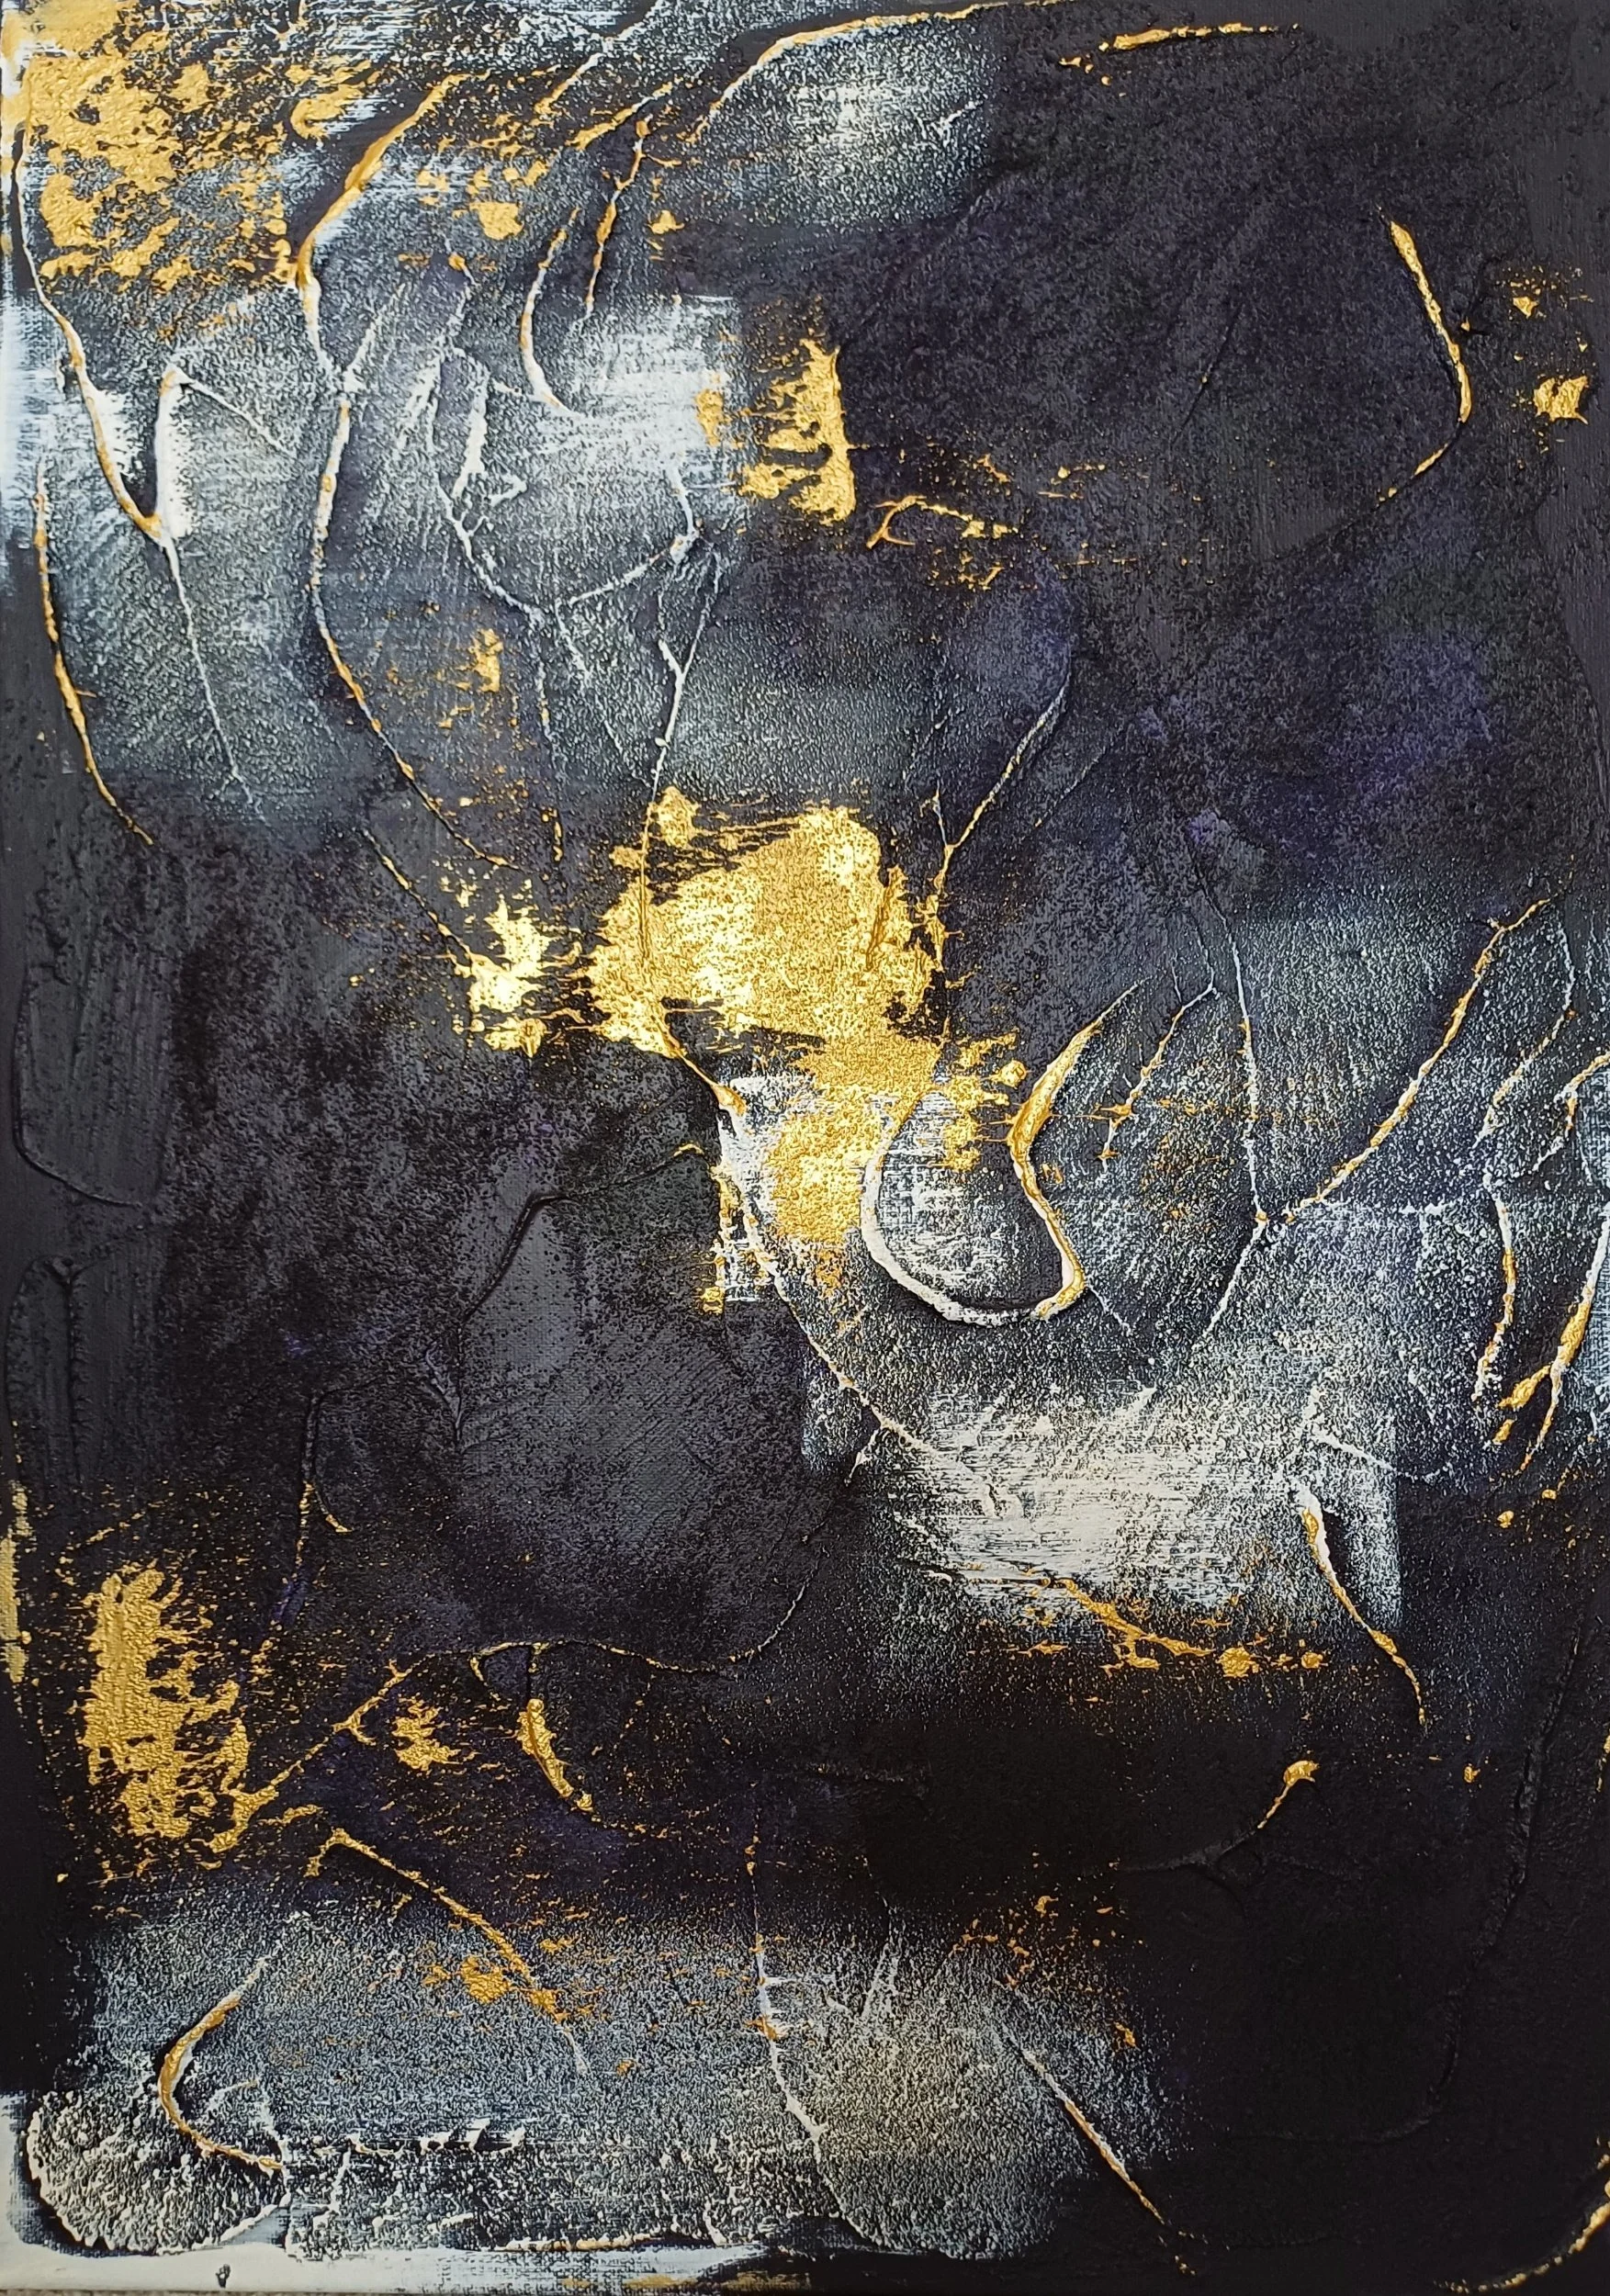
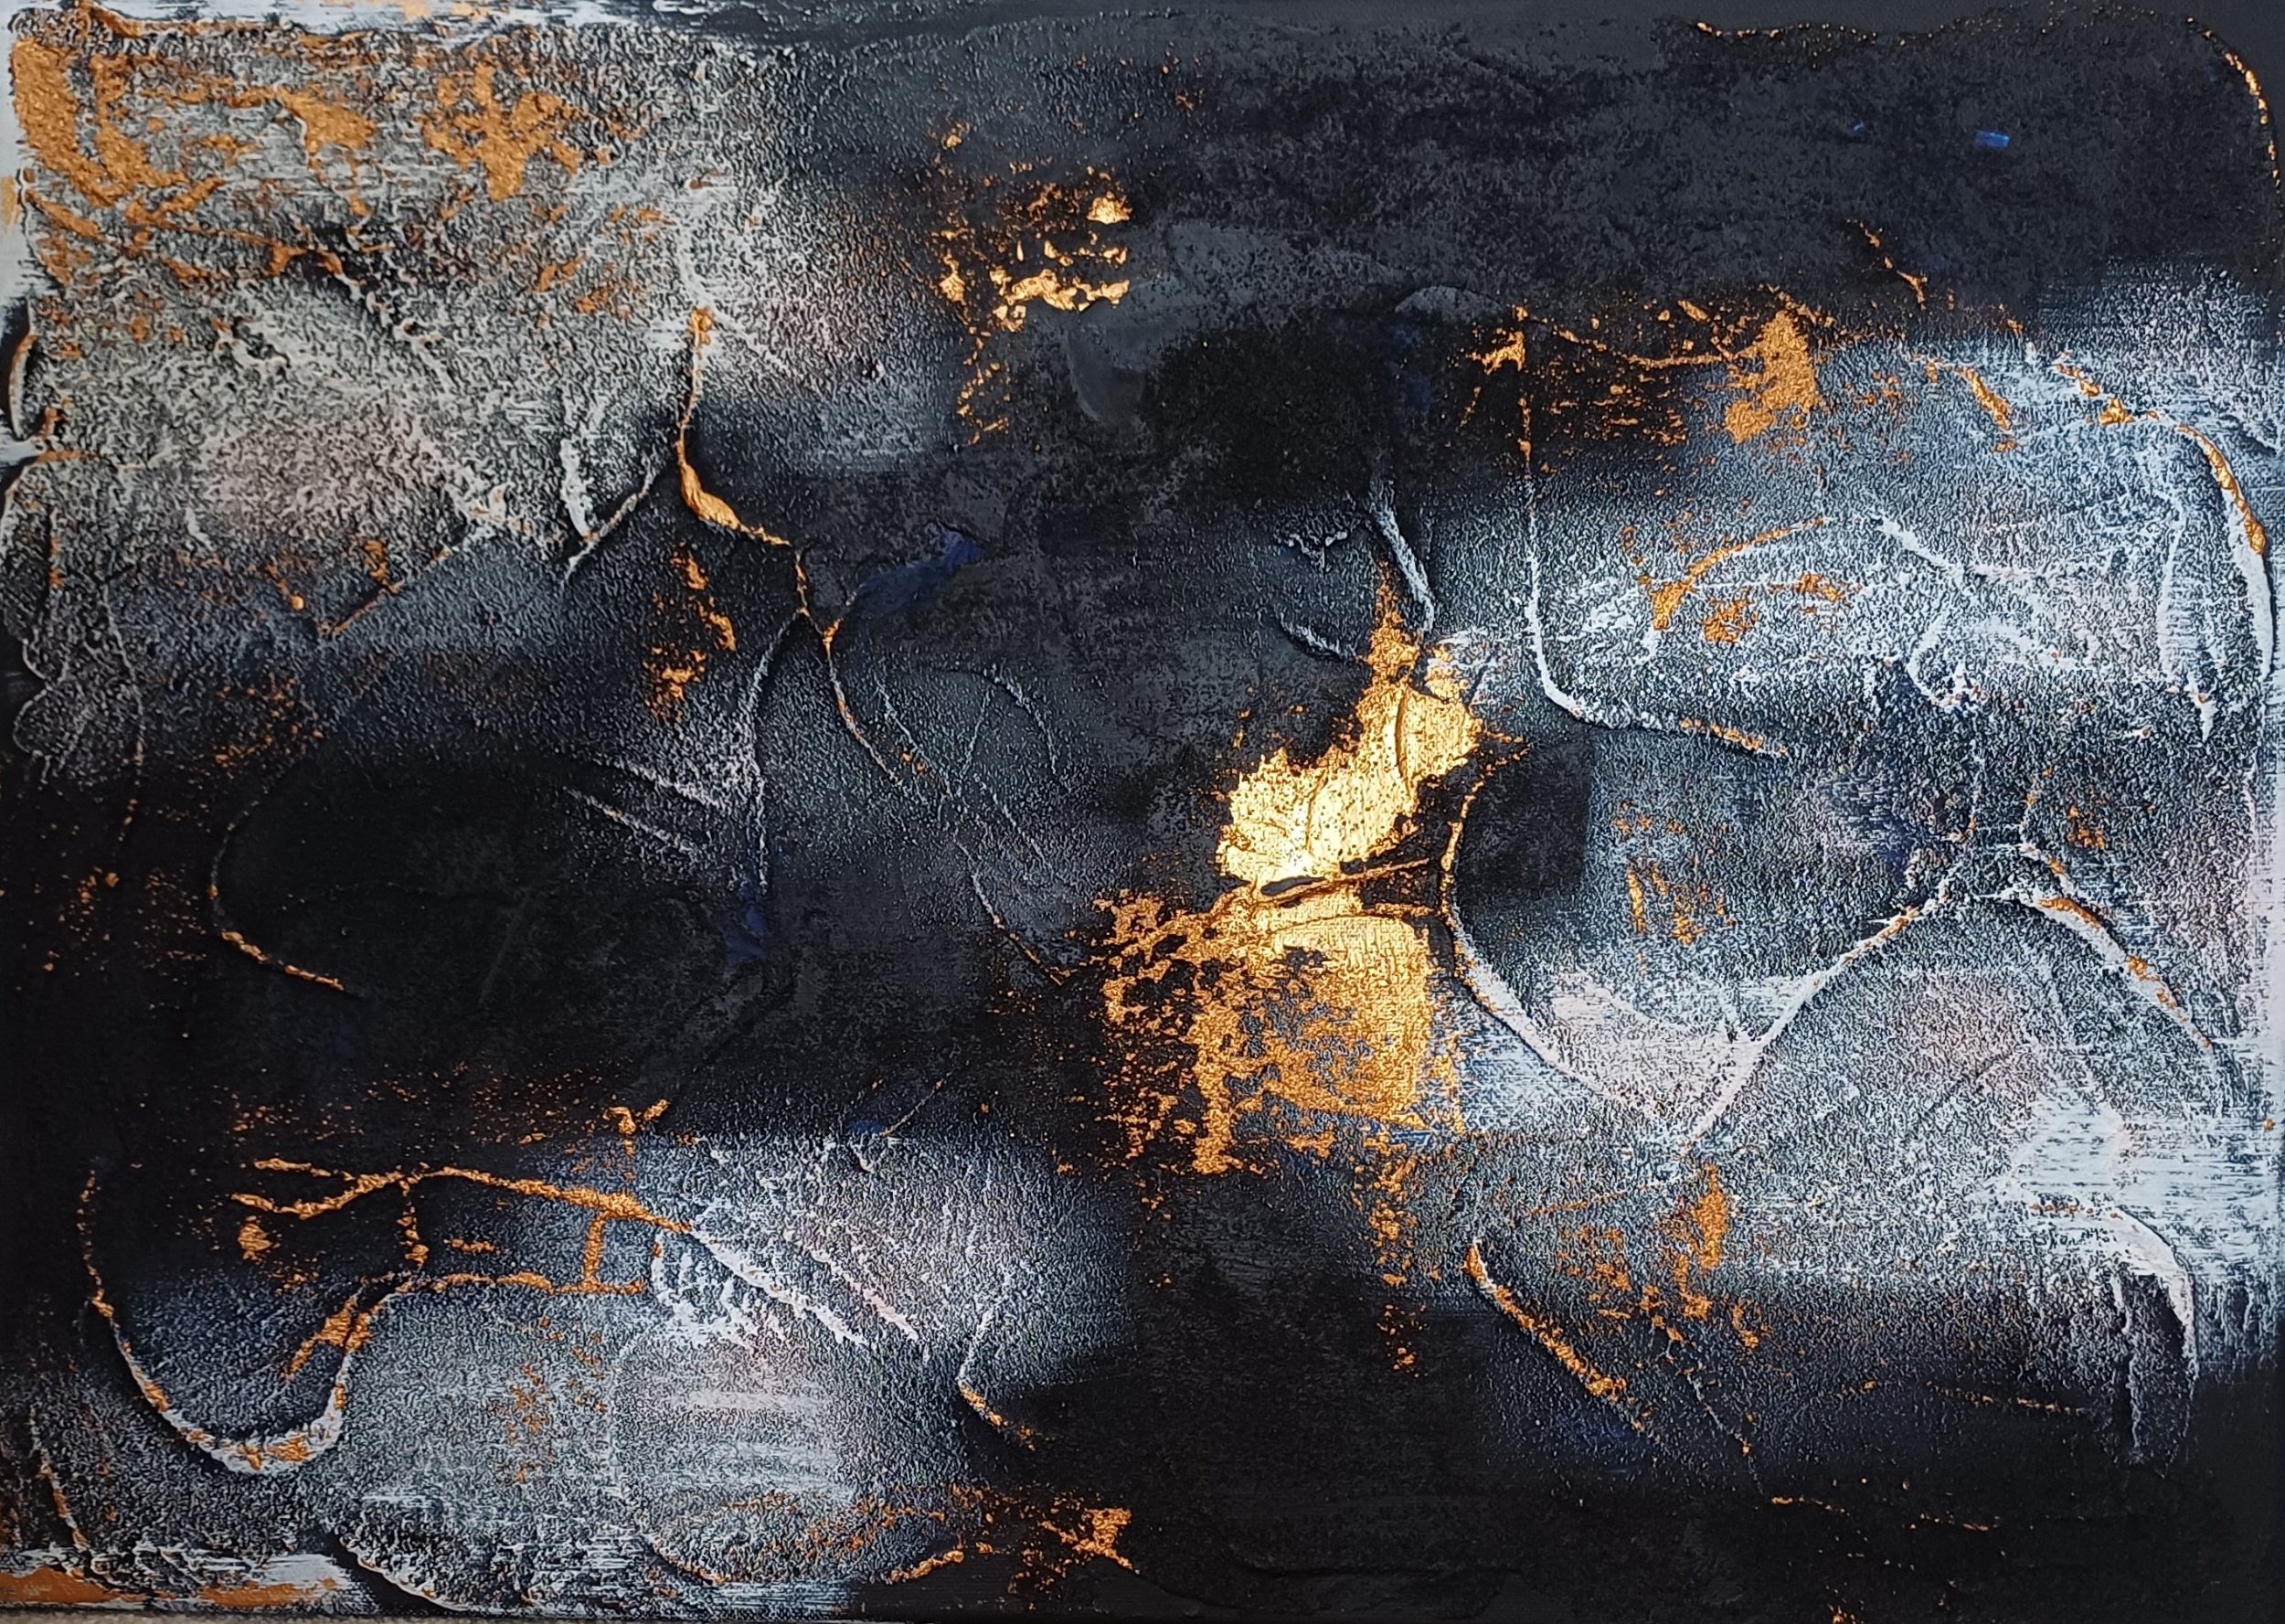
Use a palette knife to smear metallic paint in concentrated parts of the canvas and highlight some of the texture. If you go overboard with the metallic, let it dry and paint over it with your background colour.
And that’s it! It really is that easy. And so effective.
Minimum effort, maximum impact!