DIY Hallway panelling - a detailed guide
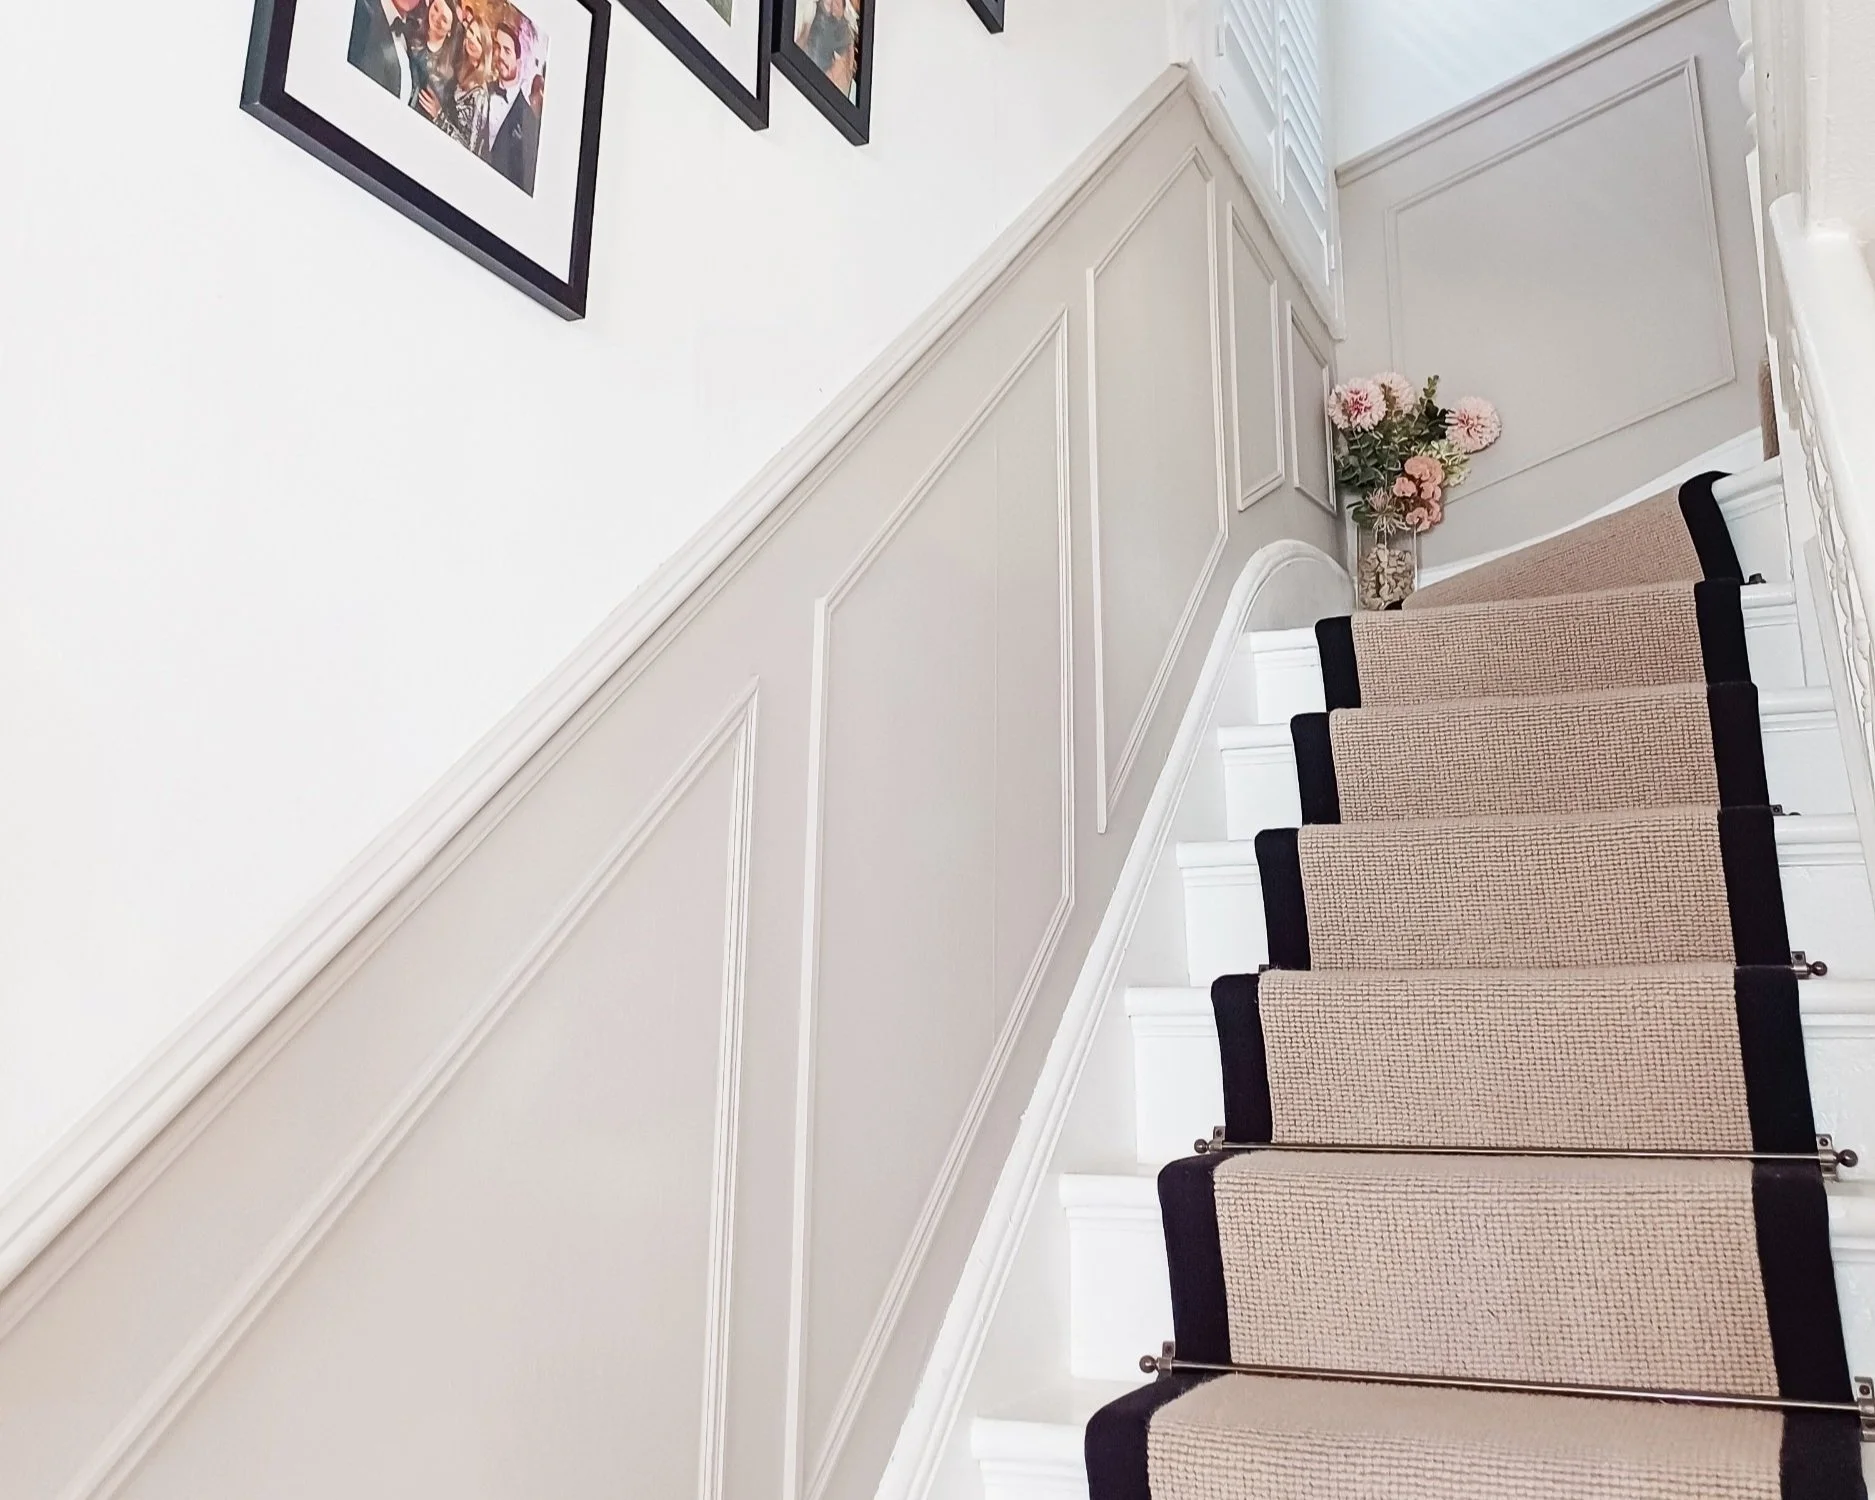
This is a detailed guide on how I added wall panels to the hallway and stairway of our house. There are different types of panelling out there - I opted for a more Victorian style with beaded panelling, rather than flatter panels which create a modern look, and I chose to panel part-way up the wall, not the full length.
I’m by no means a skilled joiner or carpenter or particularly good at maths, I’d just like just to share my process and hopefully inspire someone else to give it go. There are probably much more professional ways to do this, but I was keen to try myself and had no expectations of achieving perfection. In fact, after finishing, it’s the imperfections and quirks that I like the most!
The planning stage part is in-depth in particular; with how to map out the panels and measure the angles.
On this page:
Tools and equipment
Planning
Cut and stick
Fill, caulk and prime
Paint
Final photos
FAQs
Tools and equipment

Pencil
Tape measure
Protractor
Dado railing
Small beaded panelling
Spirit level
Mitre shears (orange tool pictured)
Mitre saw
Bonding agent (I used No More Nails)
Decorator’s caulk
Paint primer
Paint
2. Planning
This is probably the most important step. The more time you can invest in planning, the smoother your entire project will go from start to finish.
So, where do you begin?! Firstly, decide how high you want your panelling to go. For the design I chose, this meant deciding where the dado rail would go. I opted for 1m in height from the floor (you could also measure from the skirting board if you have one - I didn’t do this because my skirting board already felt quite high at 17cm).
Next, decide which walls you want to panel. I’ve split up the measuring recommendations by panel type:
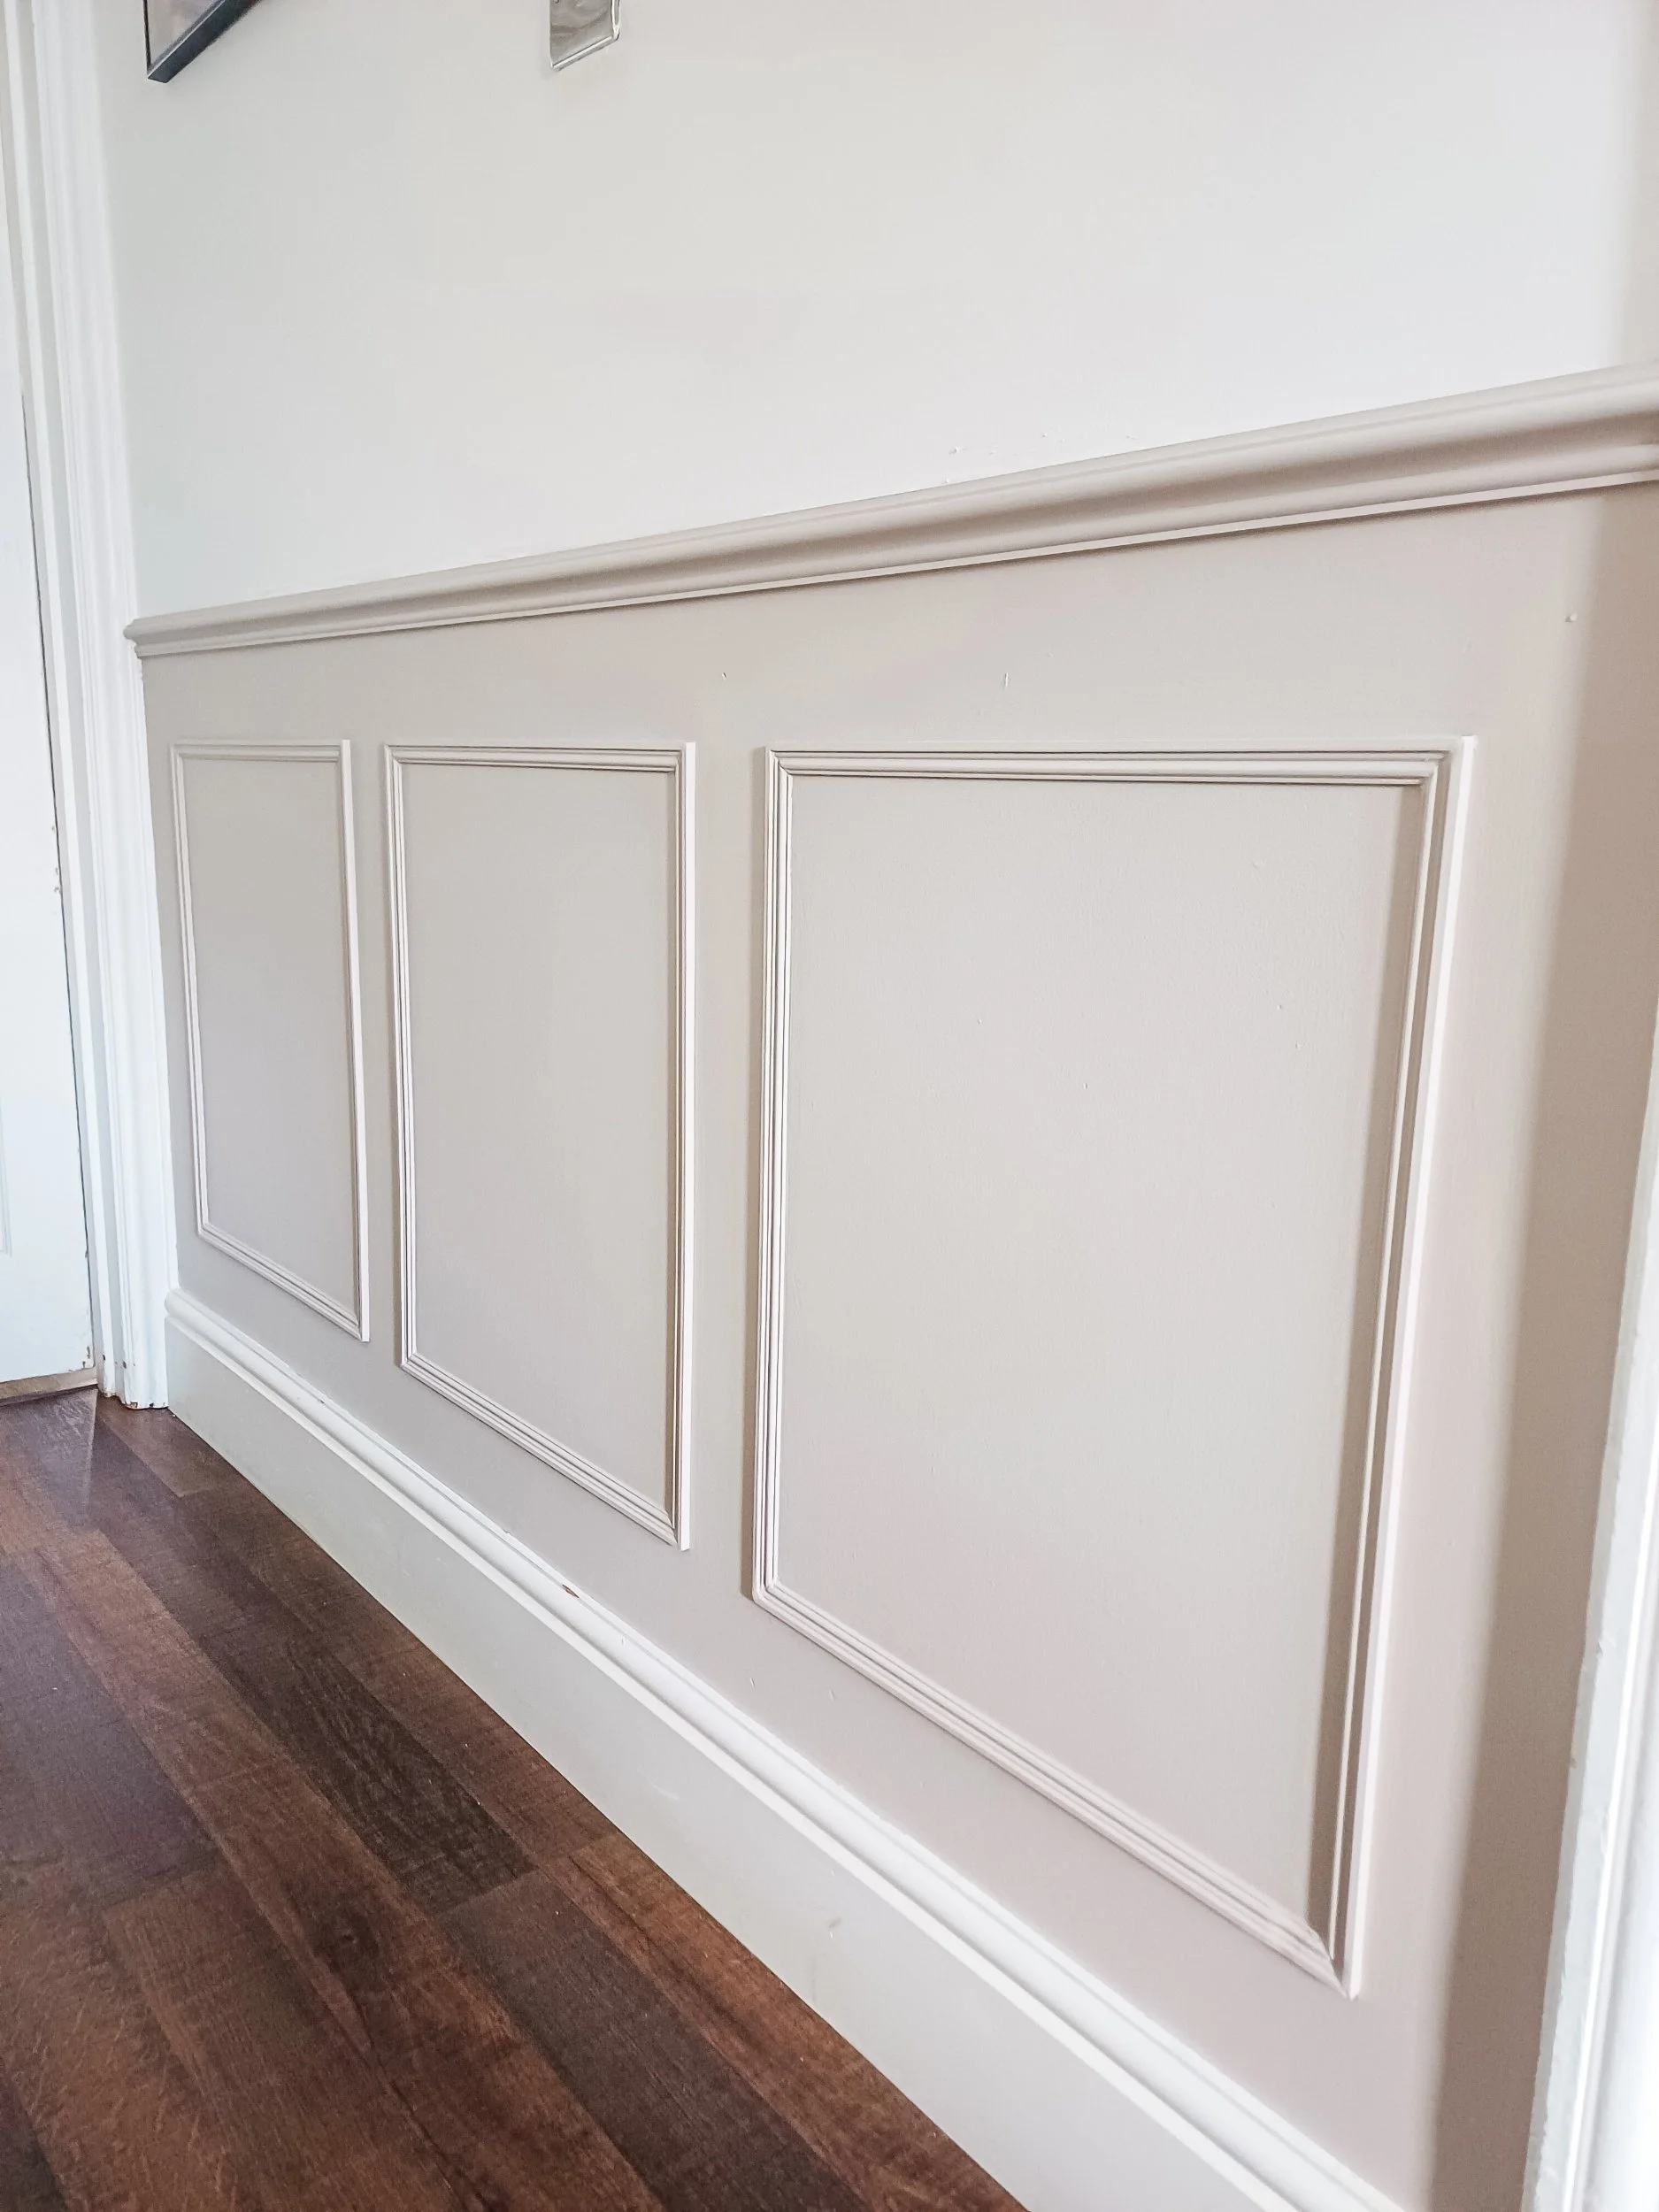
Horizontal panels
For horizontal panelling, measure your chosen walls from end to end using a tape measure. I found it easier to visualise by drawing each wall to scale using a ruler on some large canvases I had lying around.


Then, for each wall decide how many panels you’d like. I wanted 10cm between each panel, which needs to be taken into consideration. Ok, get ready for the High School maths refresher… or skip ahead if you’re a maths whizz! (Unlike me).
If my wall is 230cm long and I want three panels spaced 10cm apart, I know I need 40cm of spacing:
10cm between:
the start of the wall and panel one
panel one and panel two
panel two and three
panel three and the end of the wall.
= 40cm of spacing.
Then I need to subtract 40cm from the total length of the wall:
230cm - 40cm = 190cm
And divide the resulting number by the number of panels I want:
190cm / 3 = 63.3cm
Therefore, on this particular wall each of my panels will be 63.3cm wide.
And because I know my dado rail is going to sit 100cm from the floor, including the 17cm of skirting board, I can work out the height of my panels with 10cm spacing at the top and 10cm at the bottom:
100cm - 17cm = 83cm
83cm - 10cm - 10cm = 63cm
Based on this, all of my horizontal wall panels will be 63cm high:

Illustration of workings - not to scale in the slightest.
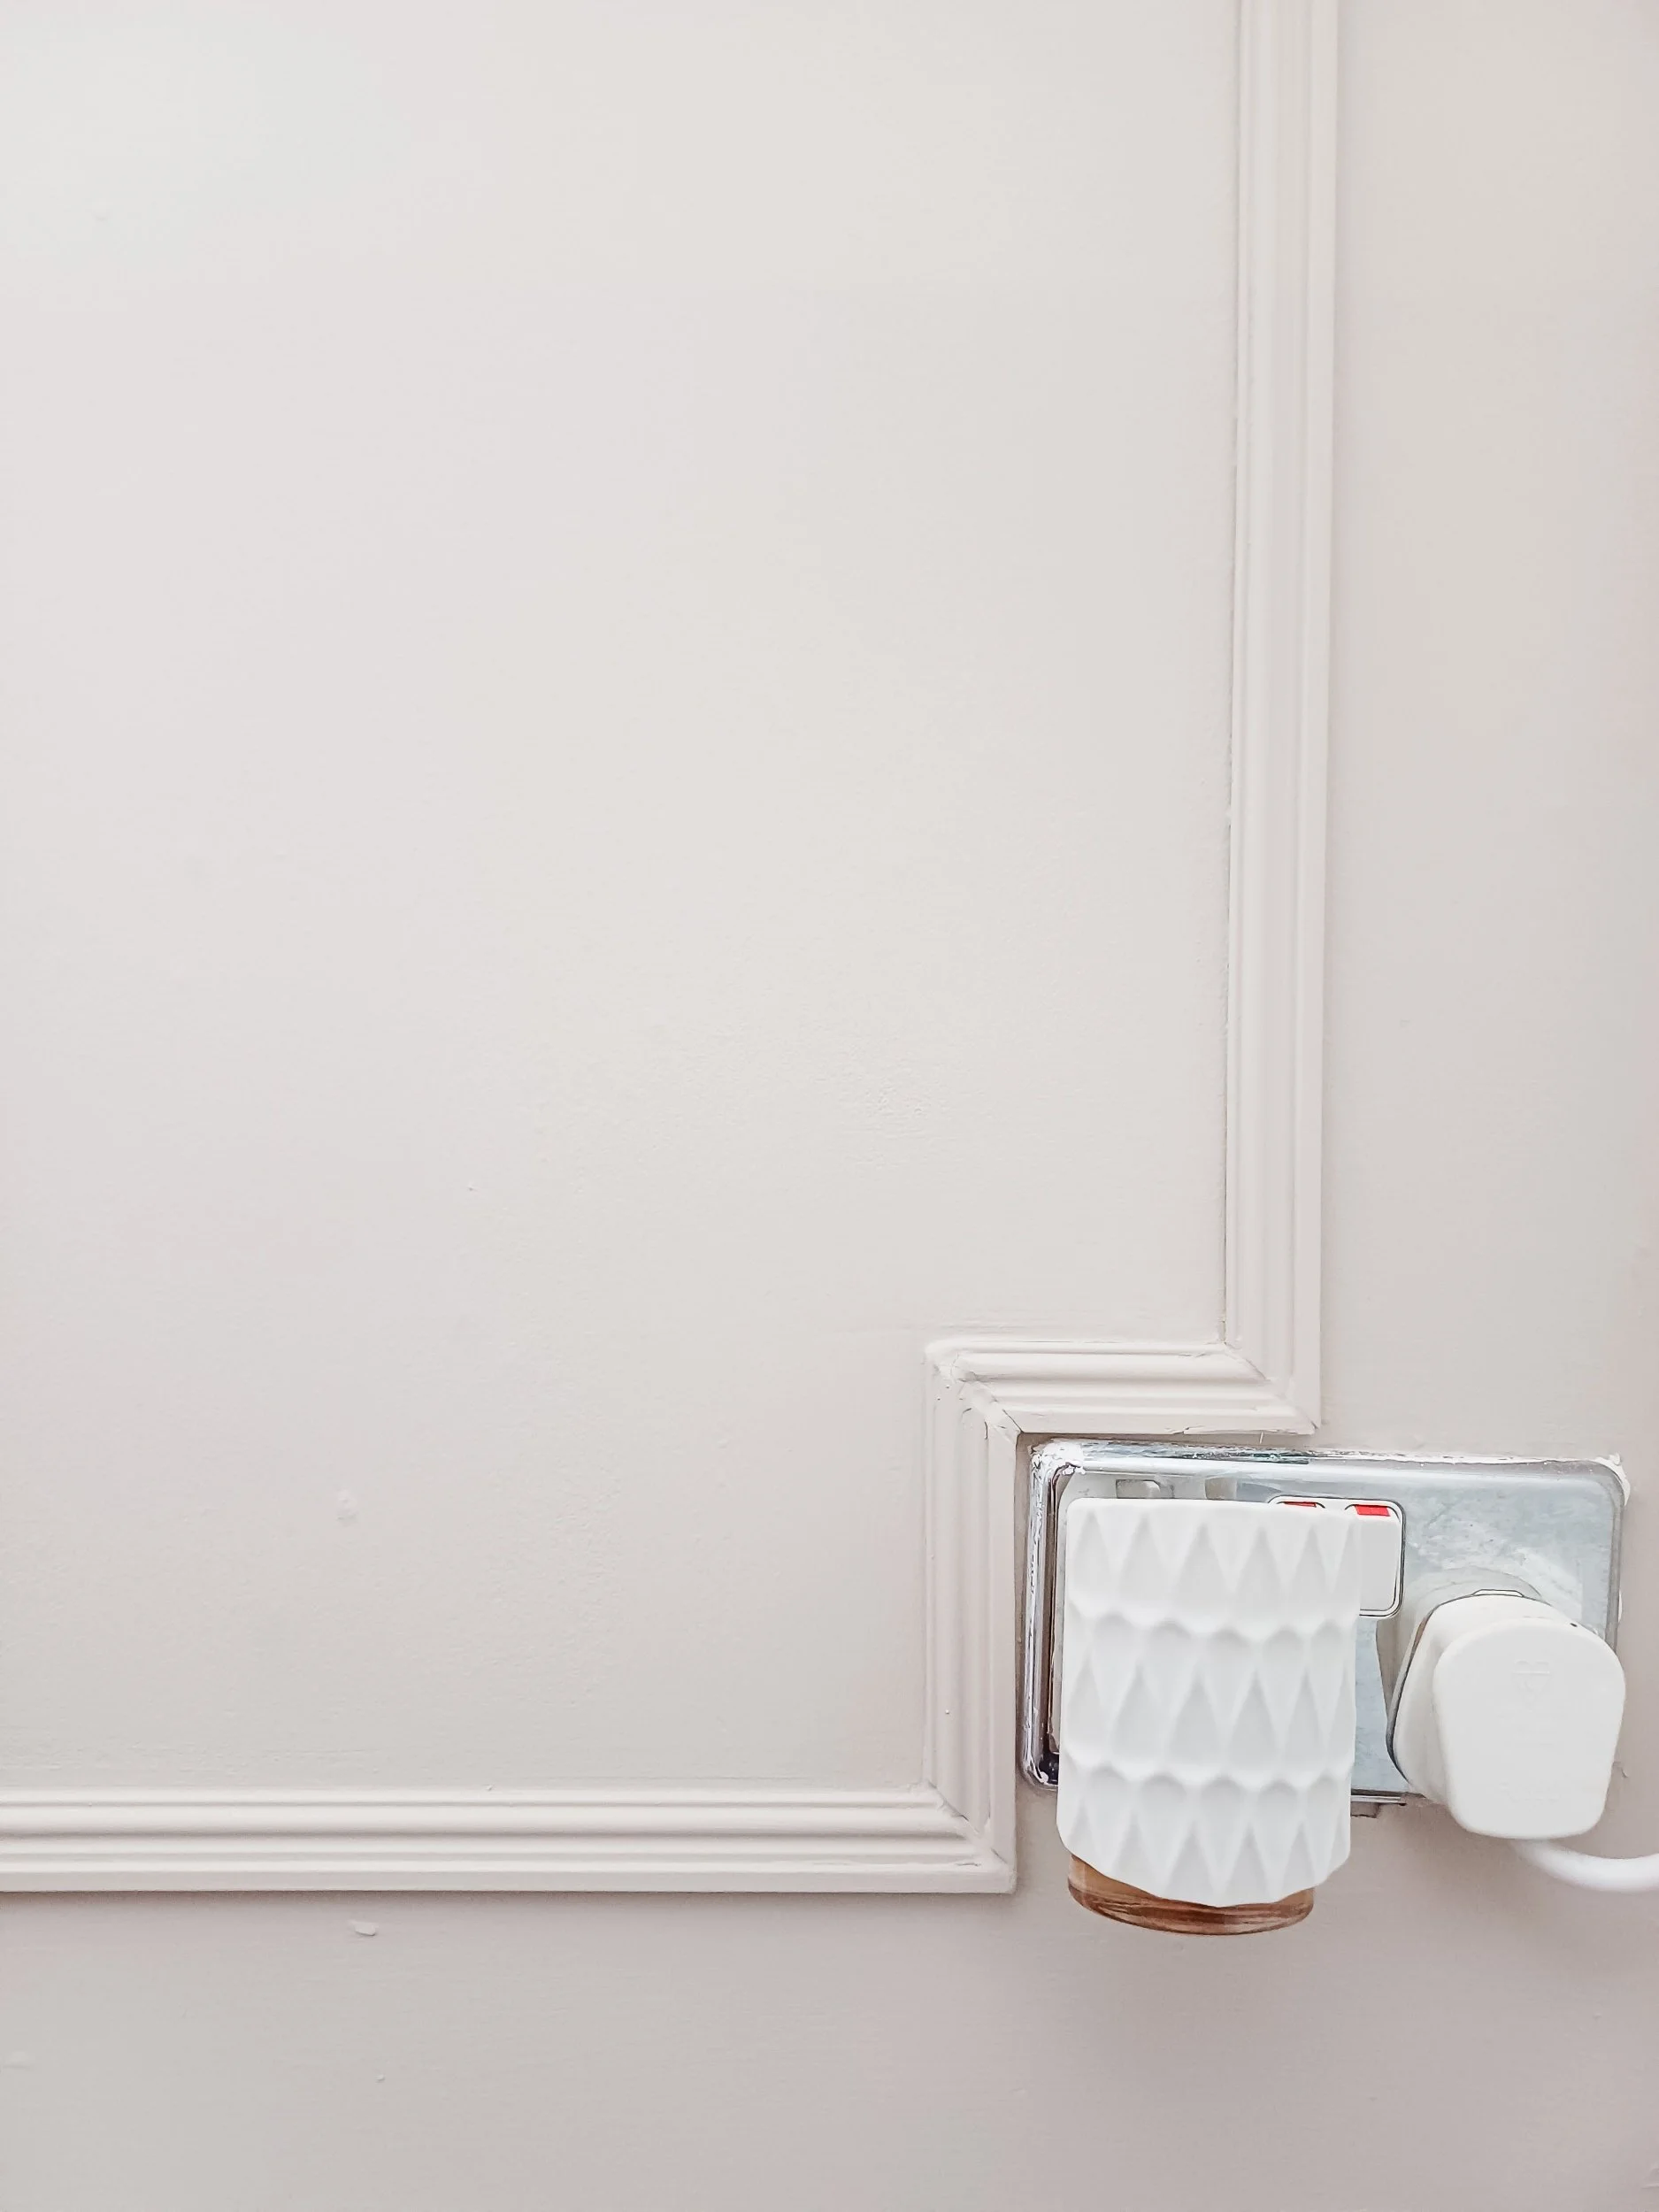
TOP TIP
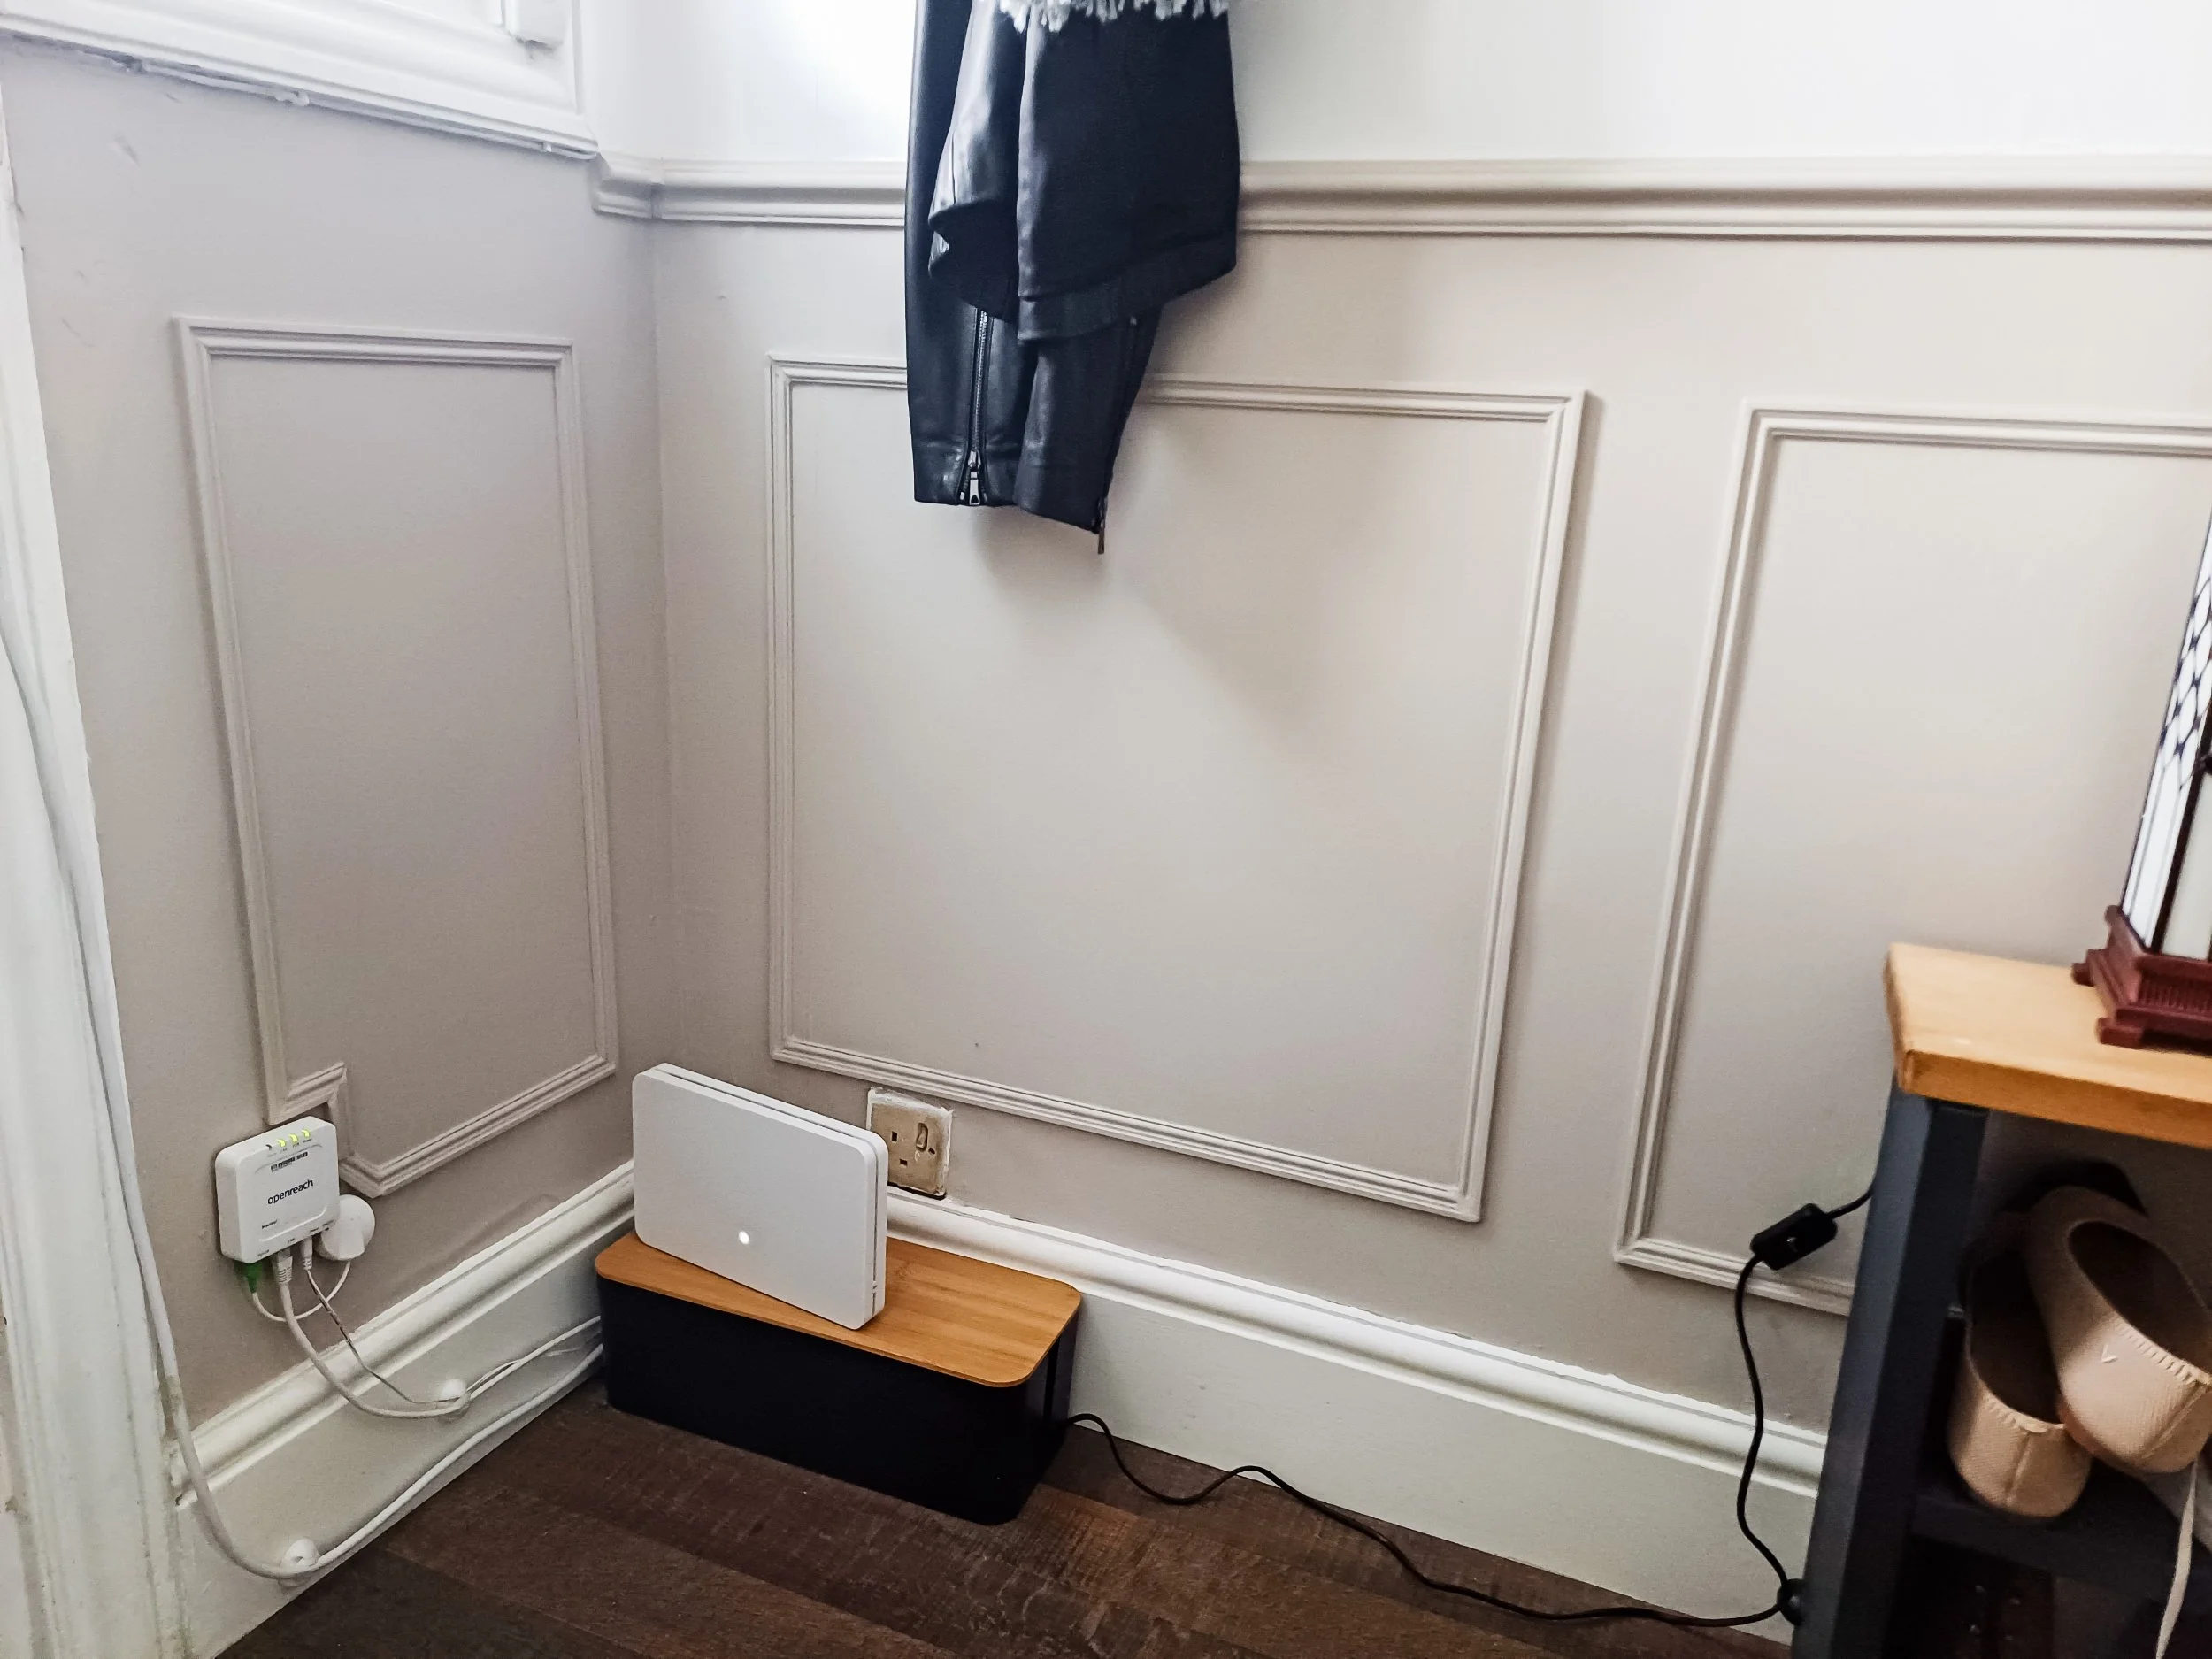
If you have immovable objects on your walls like radiators or plug sockets, incorporate them into your design:

Stair panels
To get started with panelling up the stairs, I found it easier to pencil plans directly onto the wall.
Firstly, pencil on where the dado rail will go. I used a height of 1m from the floor, so I marked 1m from the bottom of the stairs and 1m from the top of the stairs and found the distance between these two points. If you have someone to help you do this, now is the time to call on them! I didn’t, so I ended up putting two nails at the 1m points, tying twine to each nail and stretching the twine out on the floor to measure it after pencilling the line on the wall. (Accuracy was pretty questionable at this point, not gonna lie).

Illustration for finding the length for a dado rail up the stairs.
Once you have this number, and you’ve decided on how many panels you want going up the stairs, repeat the same process as before to find the width of your panels using this formula:
(Length of dado rail — Total spacing)
÷ Number of panels
= Width of each panel
This gives you the horizontal length of your stair panels, which you can use to draw out the vertical parts of your panelling, not forgetting your spacing (see image below).
I used 10cm for my spacing, so I then found 10cm from the dado rail line down each vertical line and joined the lines. I did the same from the skirting board, and pencilled out the final panelling guidelines:


Ok, protractor at the ready! Now you need to determine the angles in your stair panels before you can cut them. I found it easier to do this directly on the wall.
There are two angles to find (because the angles directly opposite each other in each stair panel are the same). Find the angle in the larger and smaller corner and divide by two. (Divide by two because each corner will be made up of two separate bits of panel). This will give you the angles you need to cut your pieces of panelling:


TOP TIP
Once you get confident with measuring your panels, you can build yourself a completely custom design. The stairs in my house, for example, level out when they corner at the top, and the window takes up some of the wall space, so I built in some smaller panels to emphasise the flow of the stairs:

Custom panelling at the top stairs corner
3. Cut and stick
When you’re happy with your plans, pencil the rest of your guidelines on the wall using a spirit level. Use your plans to count up how much wood you’ll need to buy.
Then it’s time to get cutting! I’d highly recommend buying some mitre shears - they make cutting the panels so easy! I used a mitre saw to cut the dado rail. To measure out the length of the panels, I found a ribbon tape measurer a lot easier to use than a retractable tape measure.


Before bonding the panels onto your walls forever, I’d recommend sticking them on with tape first so you can make any additional adjustments.


4. Fill, caulk and prime
After the panels are bonded to the wall, it really feels like it’s all coming together! The next thing to do it to fill in any gaps with wood filler. My mitres were far from perfect (the panels weren’t completely flush at the corners) so wood filler was my friend at this point!
It’s also important to caulk around every free edge of panelling so that when you apply paint, there’ll be no visible gaps and you’ll achieve a much cleaner finish.


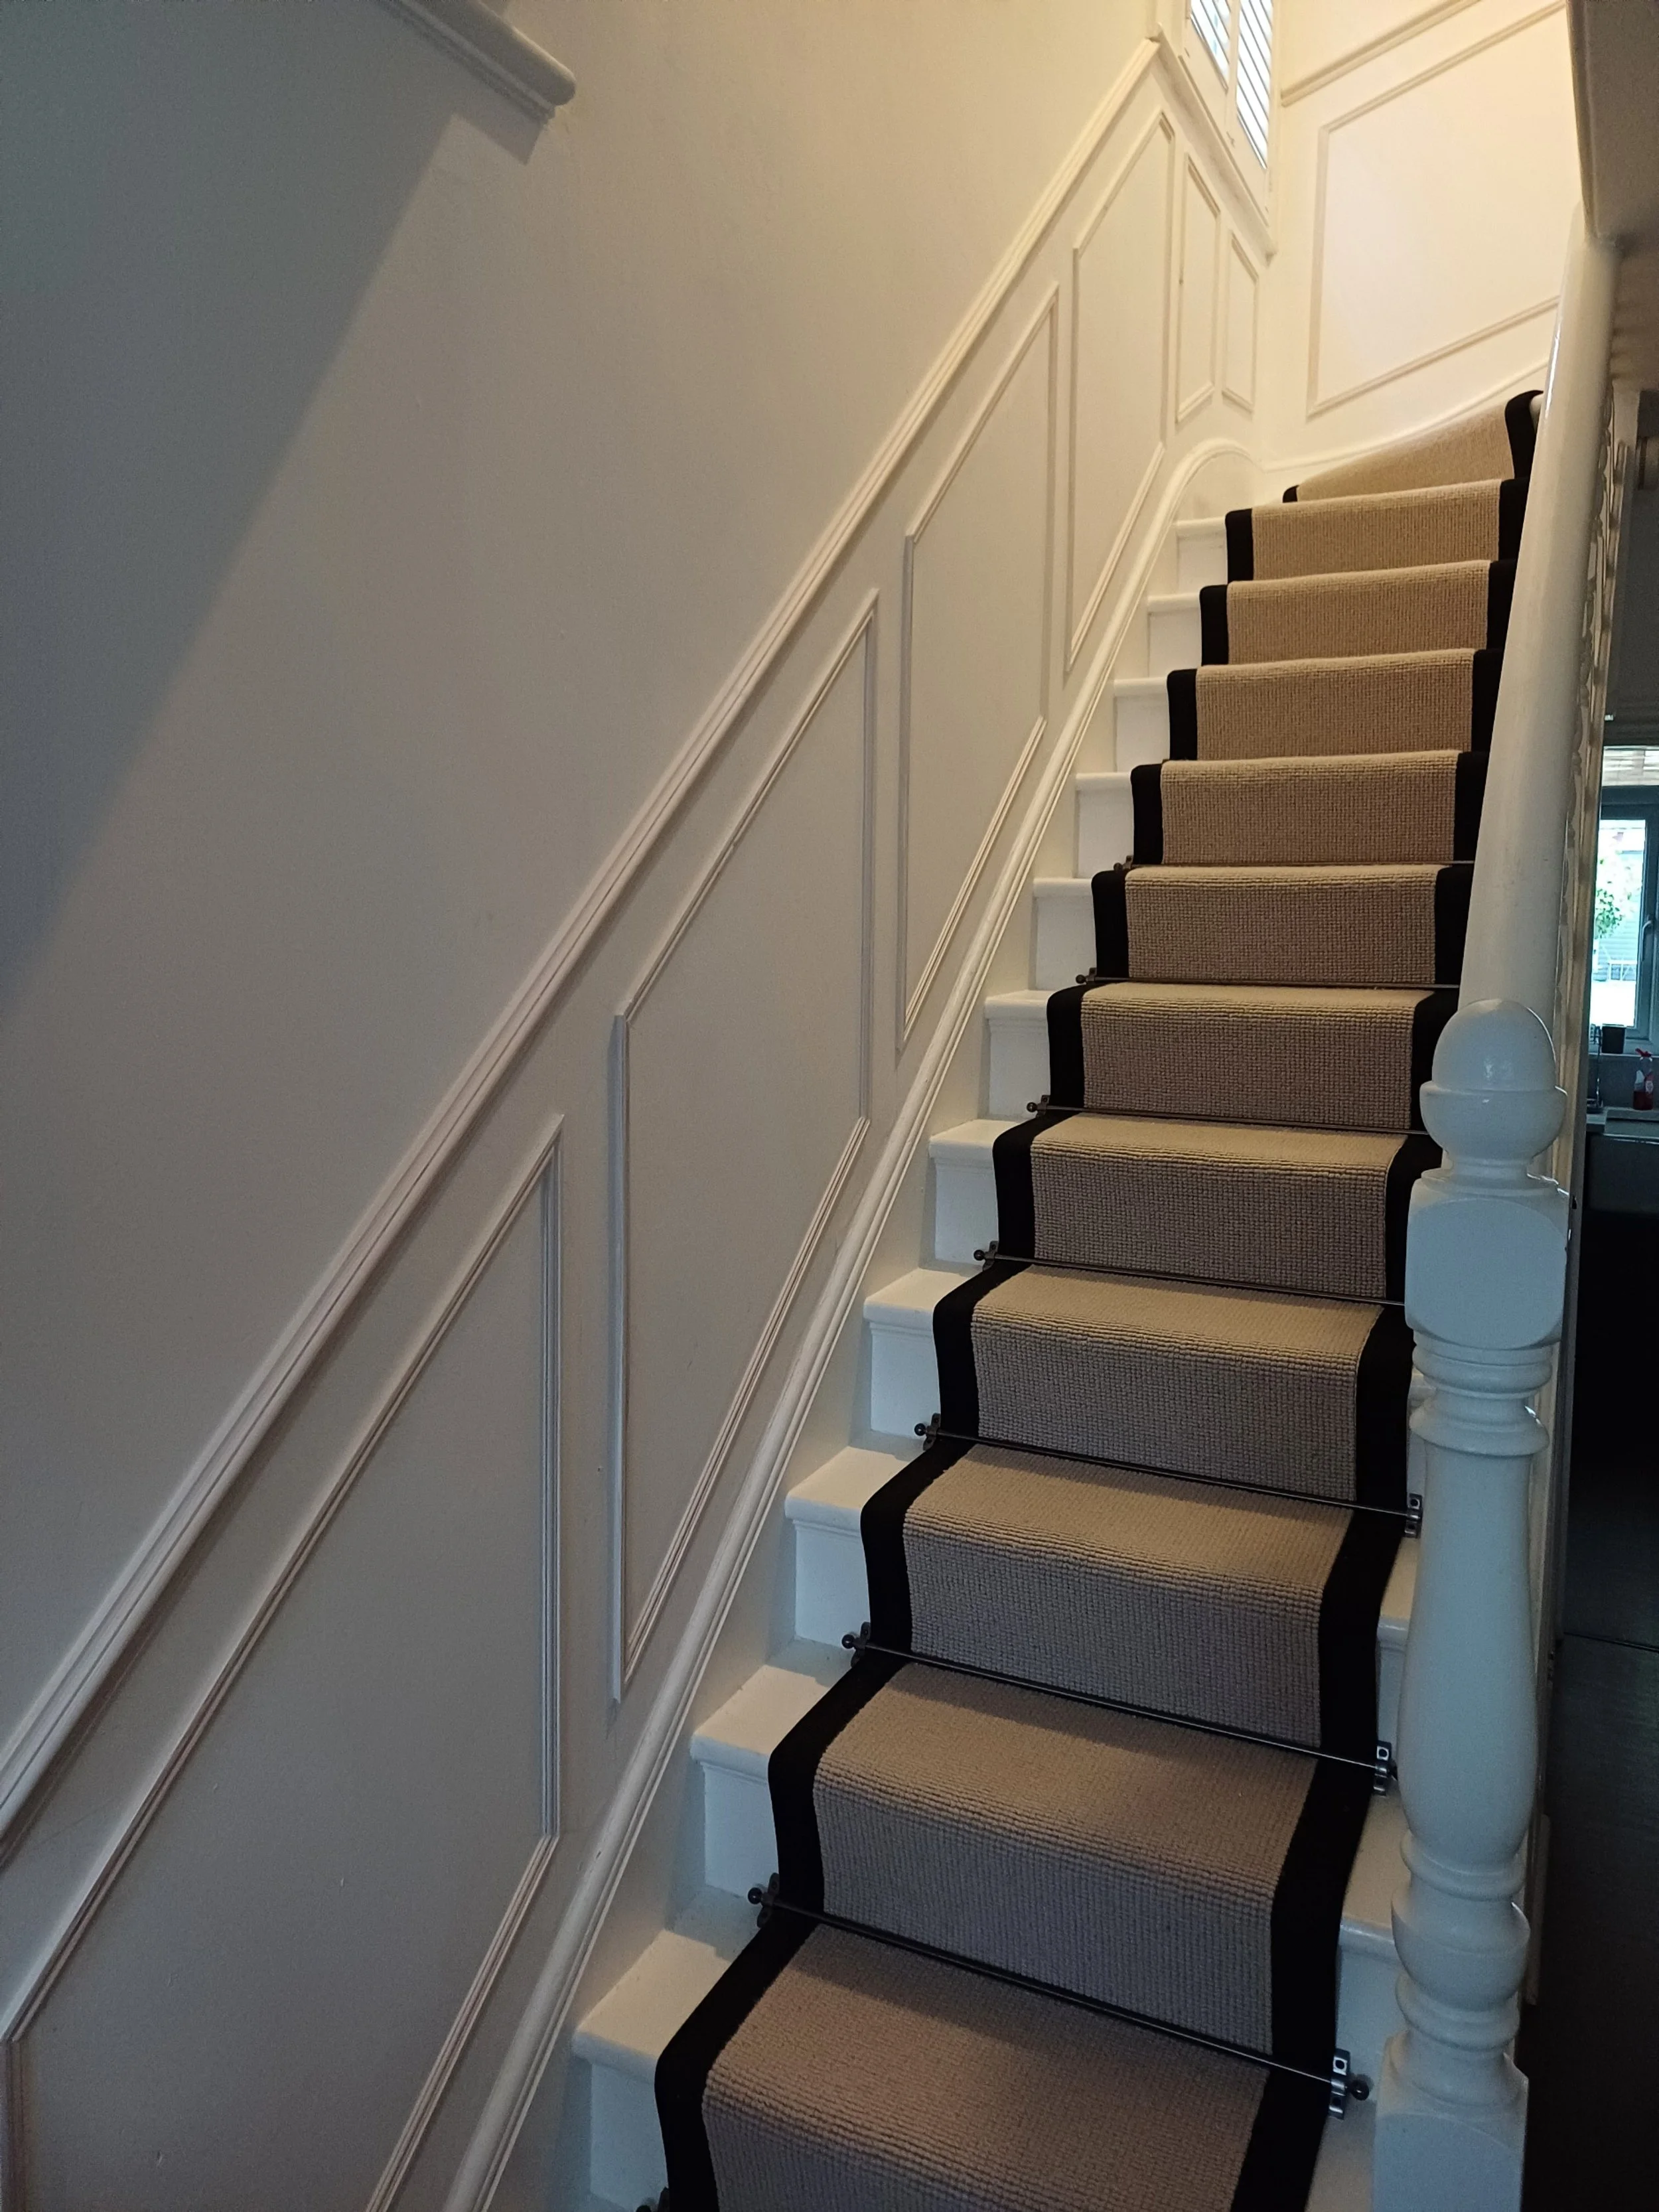
5. Apply paint
The fun part! After putting lots of work into your panelling project, it’s worth getting the best paint you can afford to finish it off, and testing a few colours in different lights before you commit. I put on two coats of Farrow and Ball No. 29 - Elephant’s Breath and painted everything from above the skirting board up to the dado rail.
A surefire way to level up your skills, house decor and possibly even the value of your house!
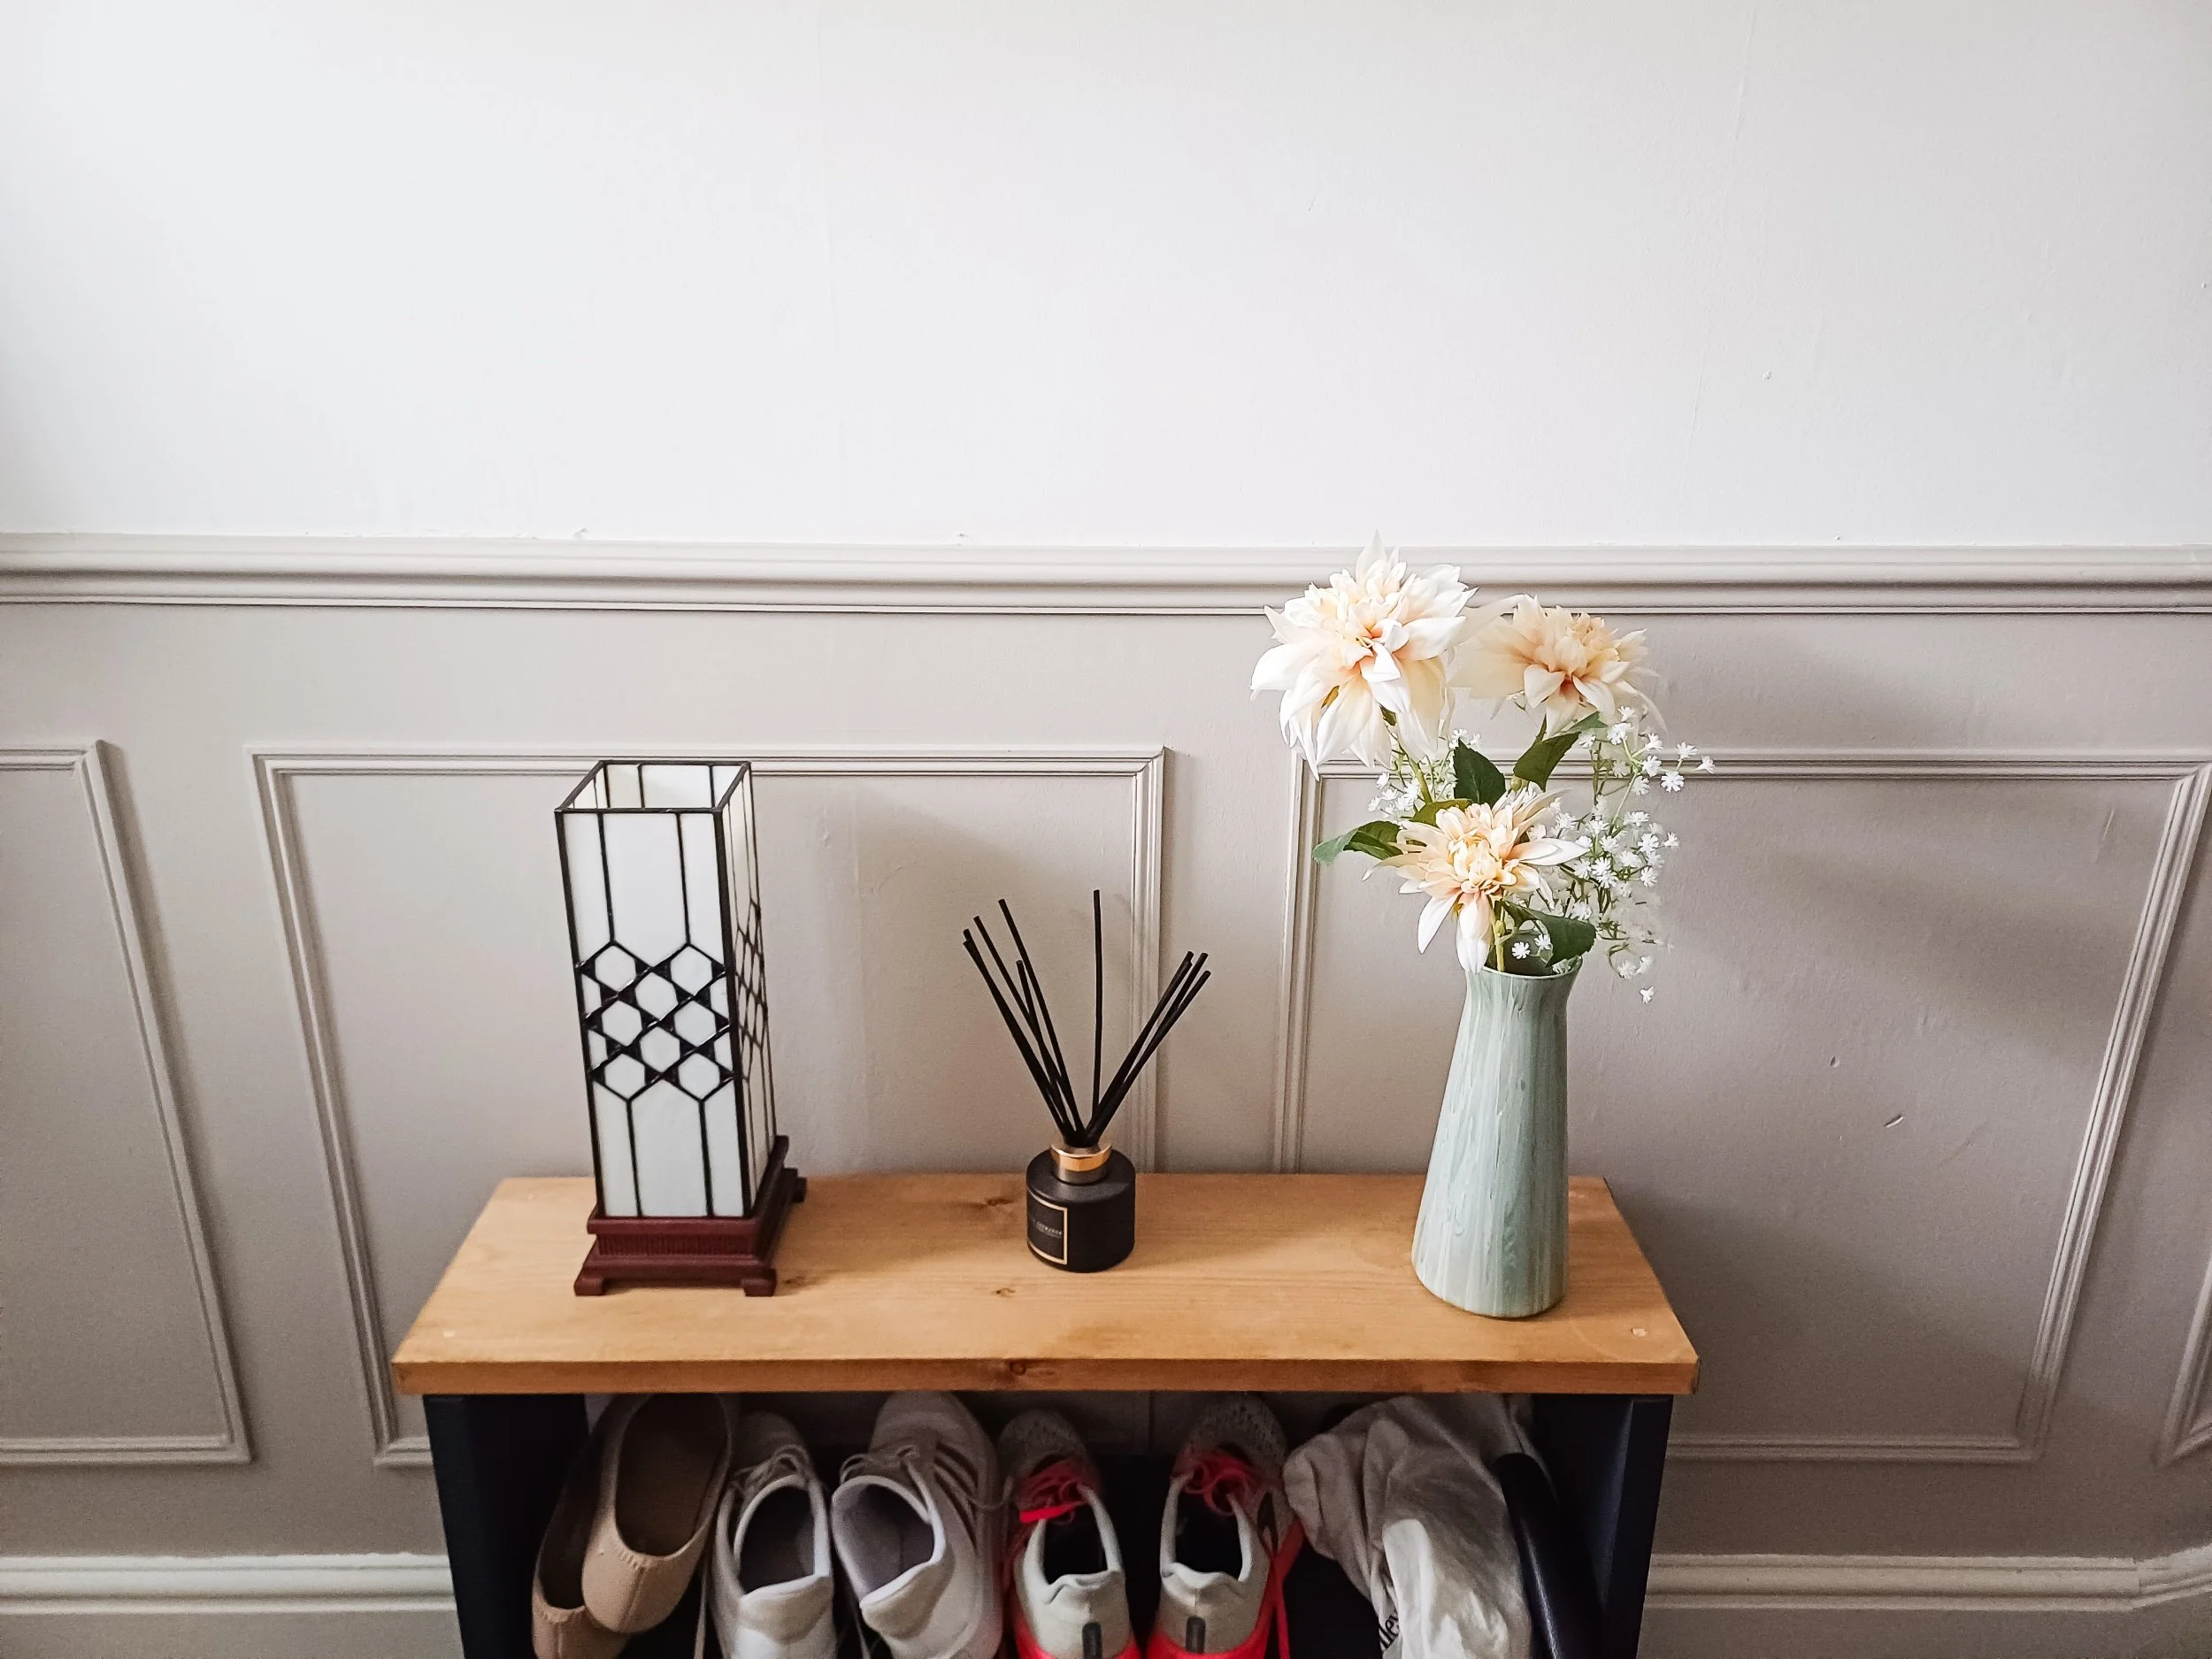
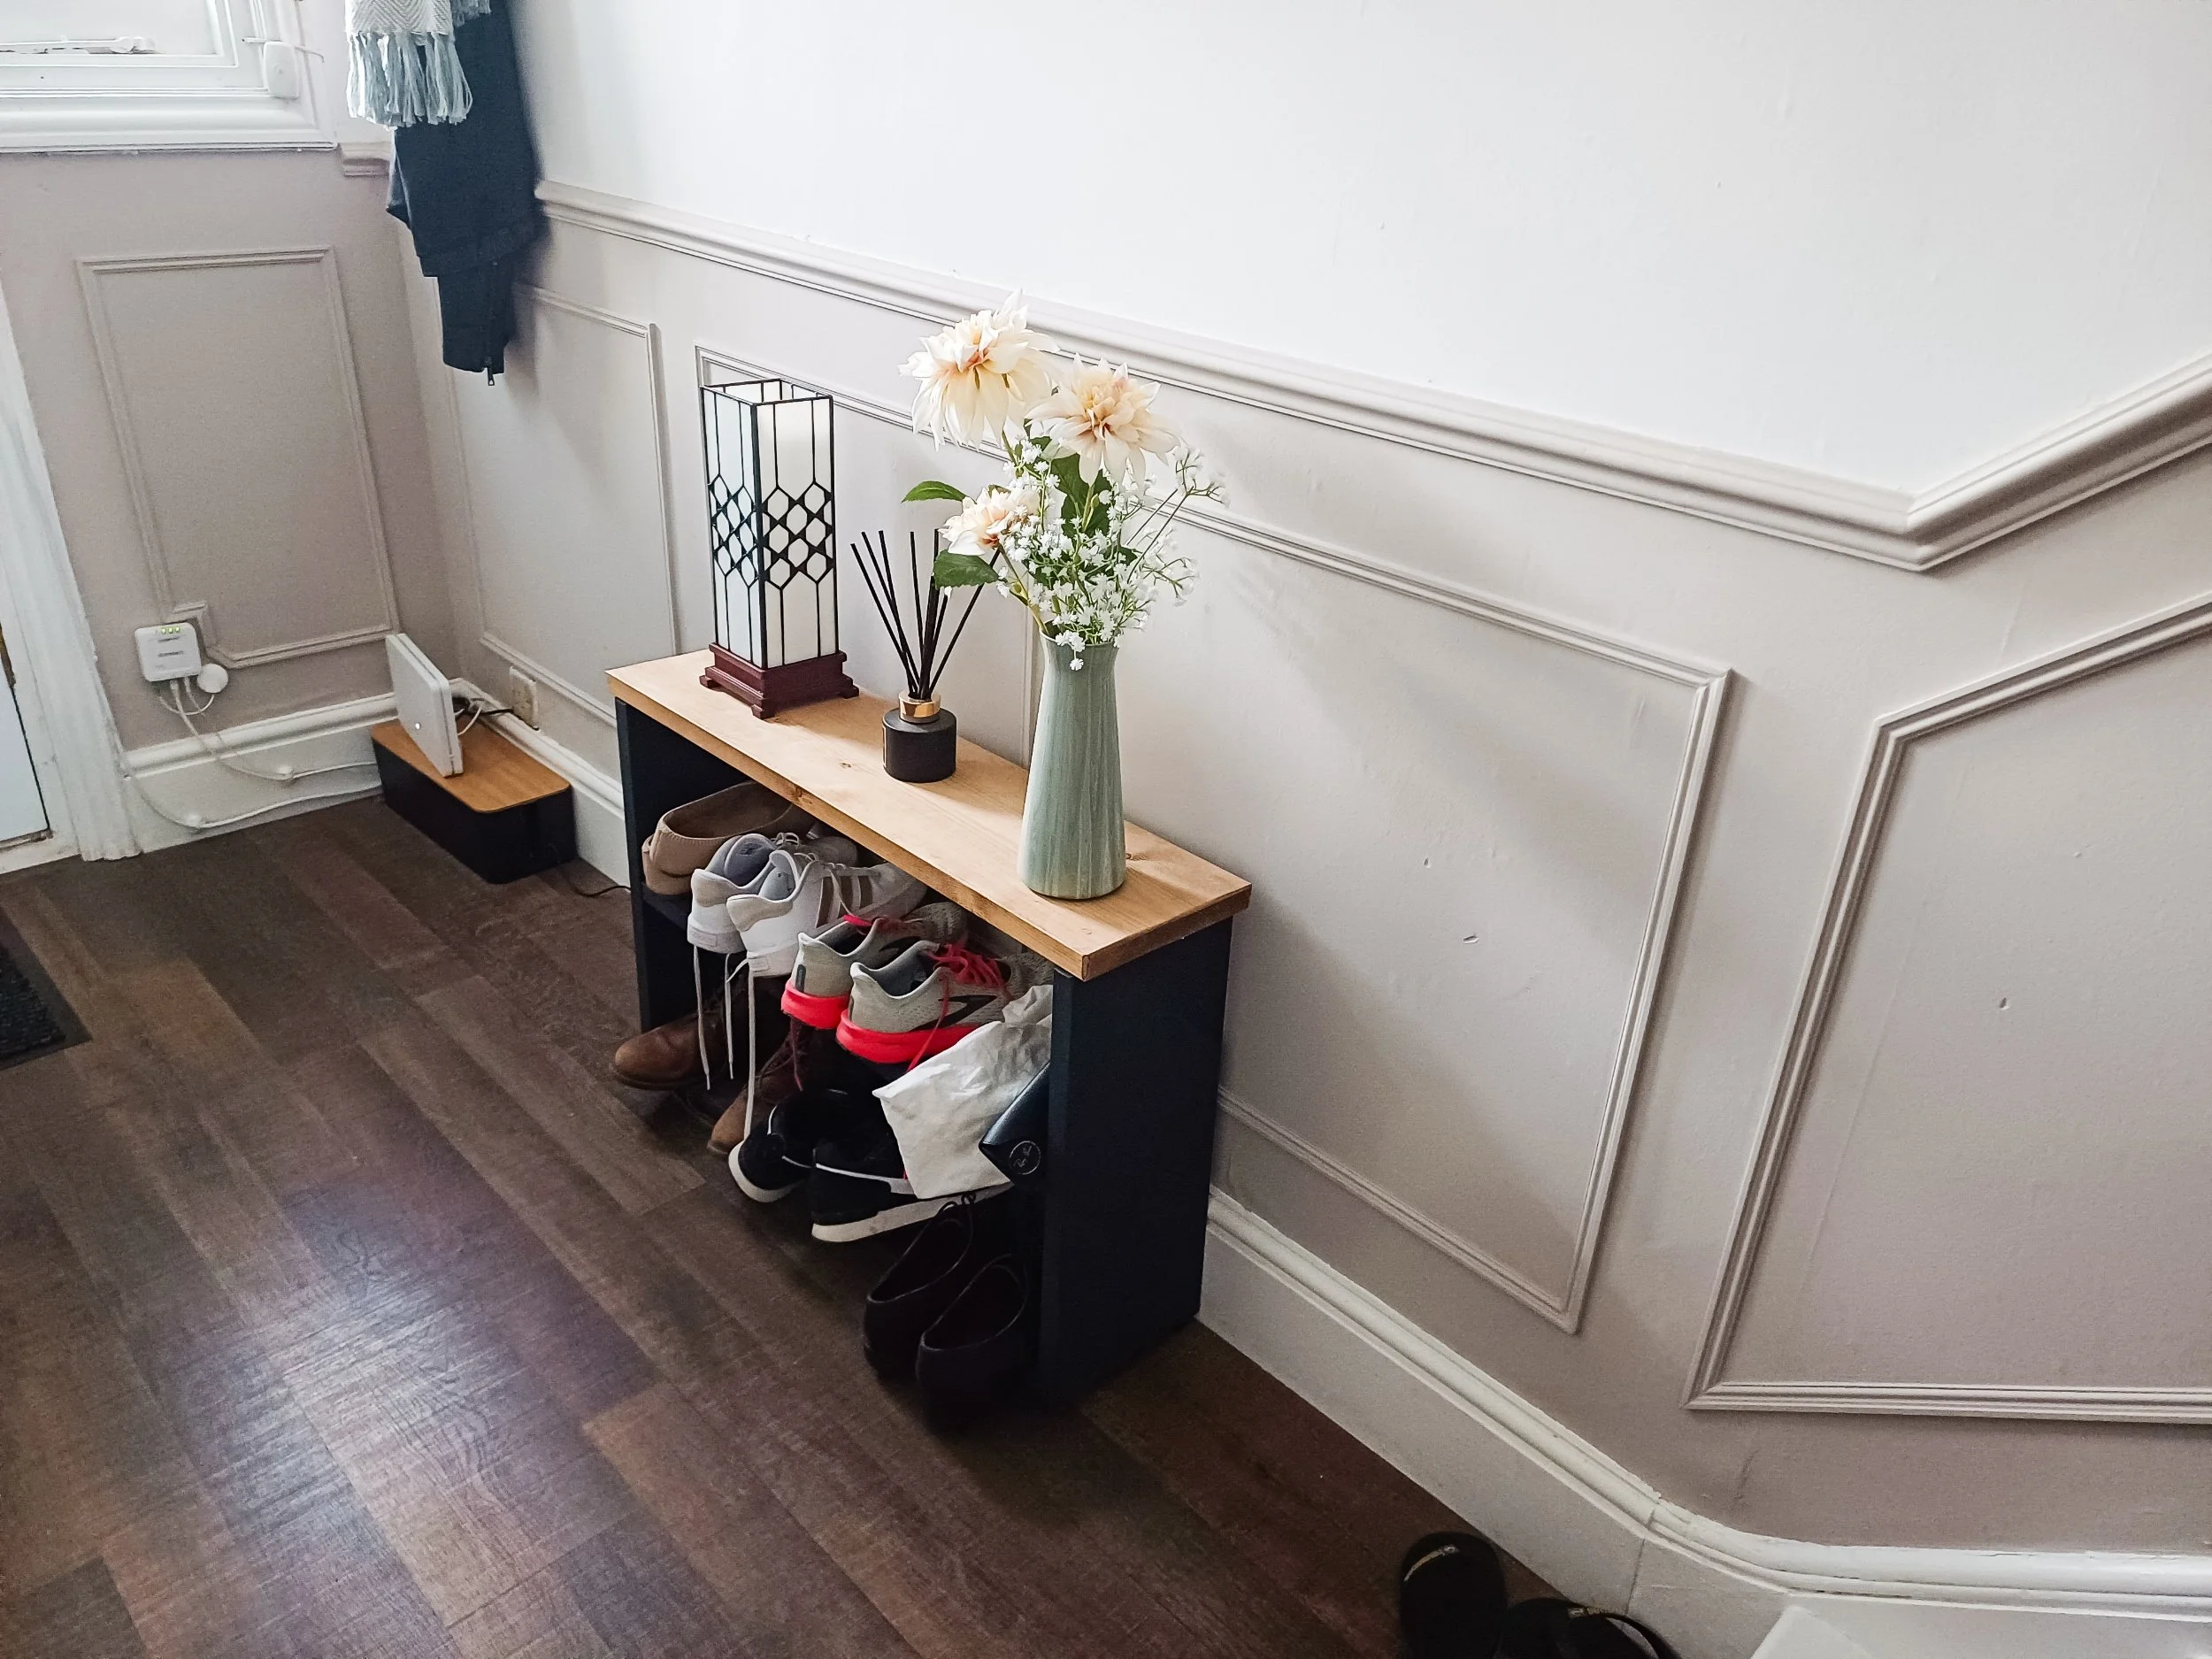
6. Final photos


FAQs
-
Including planning time, about 5 full days over the course of two weeks. But this depends entirely on your existing schedule.
-
Altogether I spent around £270 on panels, mitre shears, paint, bond and caulk. Some things I already had, like the tape measure, mitre saw, primer and spirit level.
The cost depends on how many walls you want to panel, how big your panels are and what tools you might already have around the house.
-
Most building supplier stores stock panelling in the timber section - I got mine from Wickes.
-
This depends on what look you want to achieve, you an get larger or smaller mouldings than the ones I used, and different shapes as well.
For this project I used mouldings with the following dimensions:
Dado: 20 x 45 x 2400mm
Panels: 21 x 8 x 2400mm